


We all love hunting, but it seems that the more hunting we do the less we actually get to pull the trigger. Personally I’m stoked if once every year or so I get to shoot something for trophy sake.
So more often than not we end up coming home empty handed with little to show for the adventure had. This is where carrying a camera adds a whole other dimension to hunting trips and helps you create a lasting memory.
Now I’m by no means a photographer, but below I’ll try and cover some basic tips for capturing better images while out hunting and for when you eventually do find something worthy of knocking over. Because the photo you take is what most people will be looking at in years to come.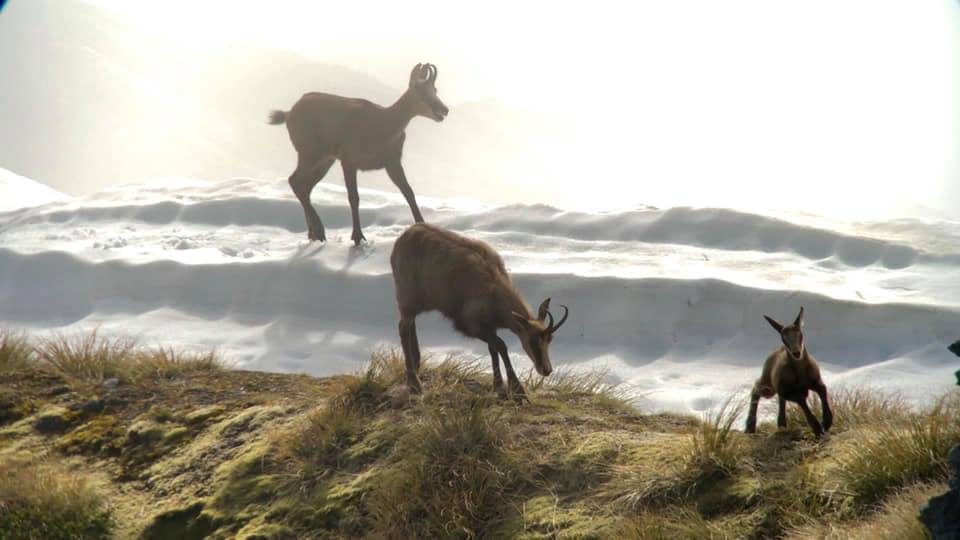
The Scene
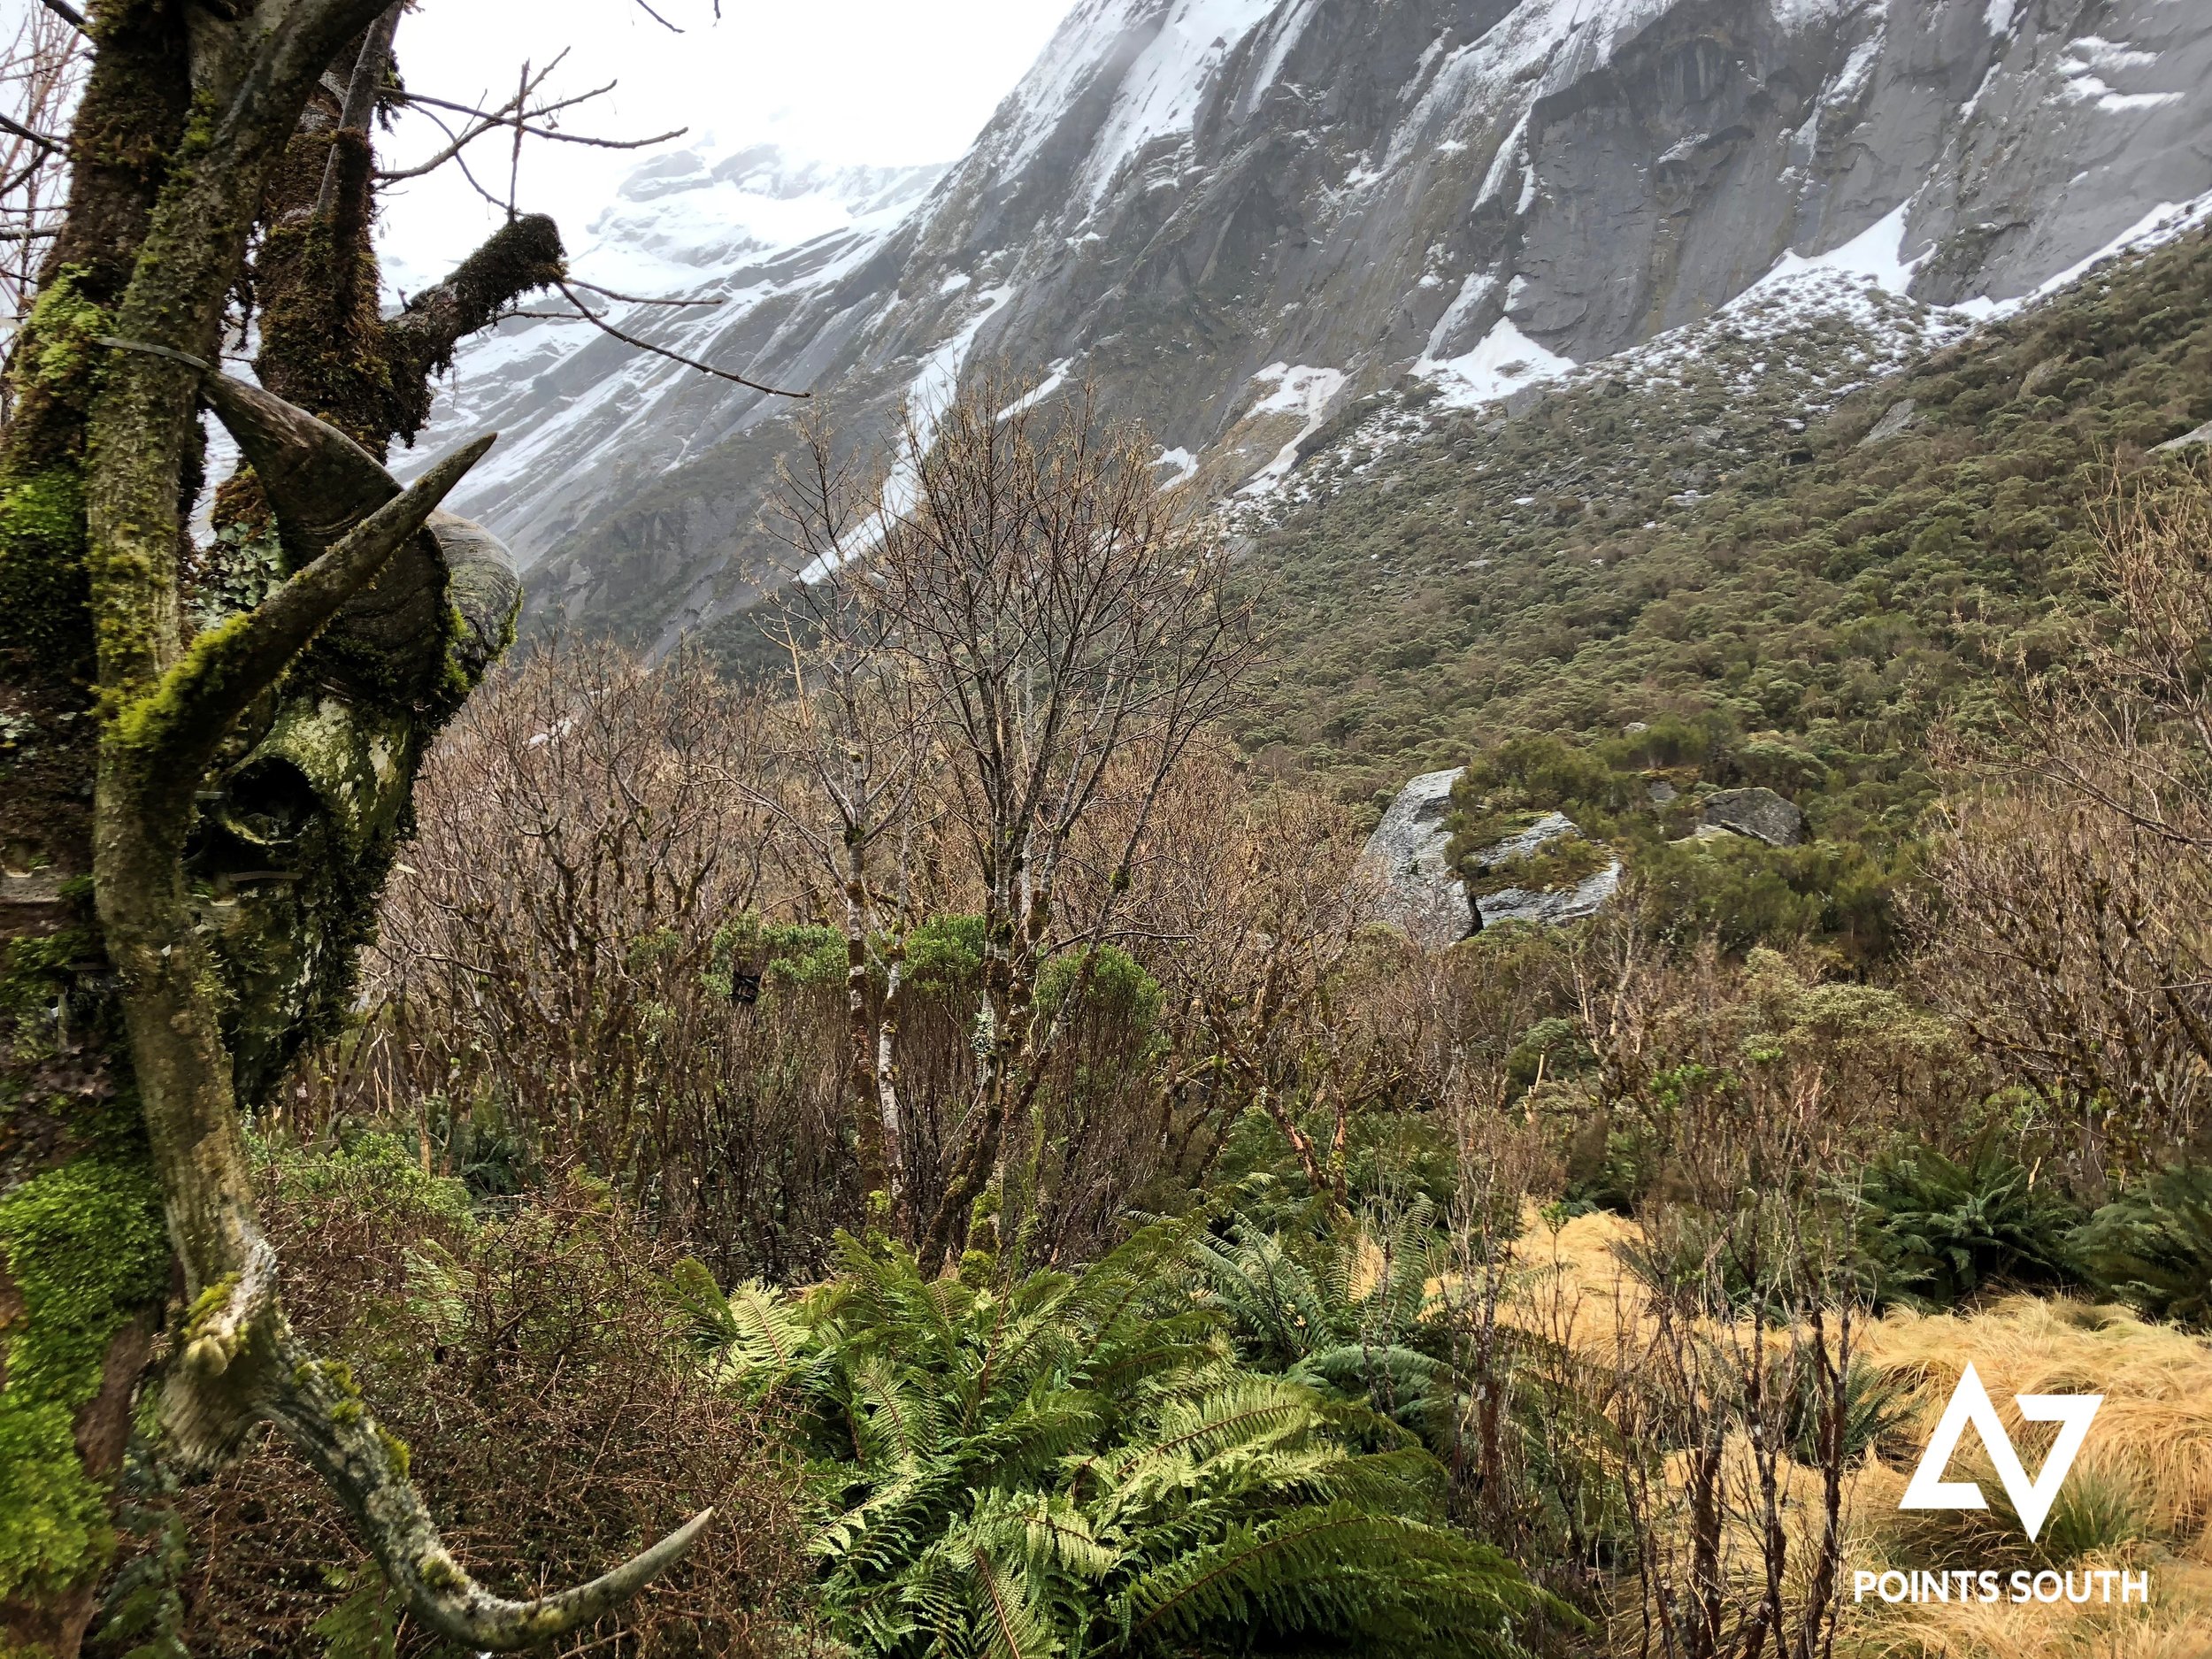
We get to walk around in some epic landscapes and often we're hunting when the lights good (first and last), so take the time to recognise when the scenery and light are good for a landscape photo of your hunting location.
Take a bunch of photos, I’m mean plenty. We can easily deal with tiding up/deleting them later. Even playing with settings you’re not 100% familiar with on your digital camera might create a great shot when you load them onto the computer at home.
Landscape setting is obvious but try portrait on a rock or shrub to alter the focus. A tripod and a slightly longer exposure here is key. When taking photos in lowerlight a tripod can make all the difference and many of us hunt with one for the spotting scope– so a second base to fit your camera means not needing a separate tripod for the camera. Even some of the small flexible leg ones are great lightweight options if you don’t hunt with a spotter. Using the 2 second delay timer is also great for decreasing camera shake when taking the photo, as small amounts of shake can easily transfer into poor quality photo's.
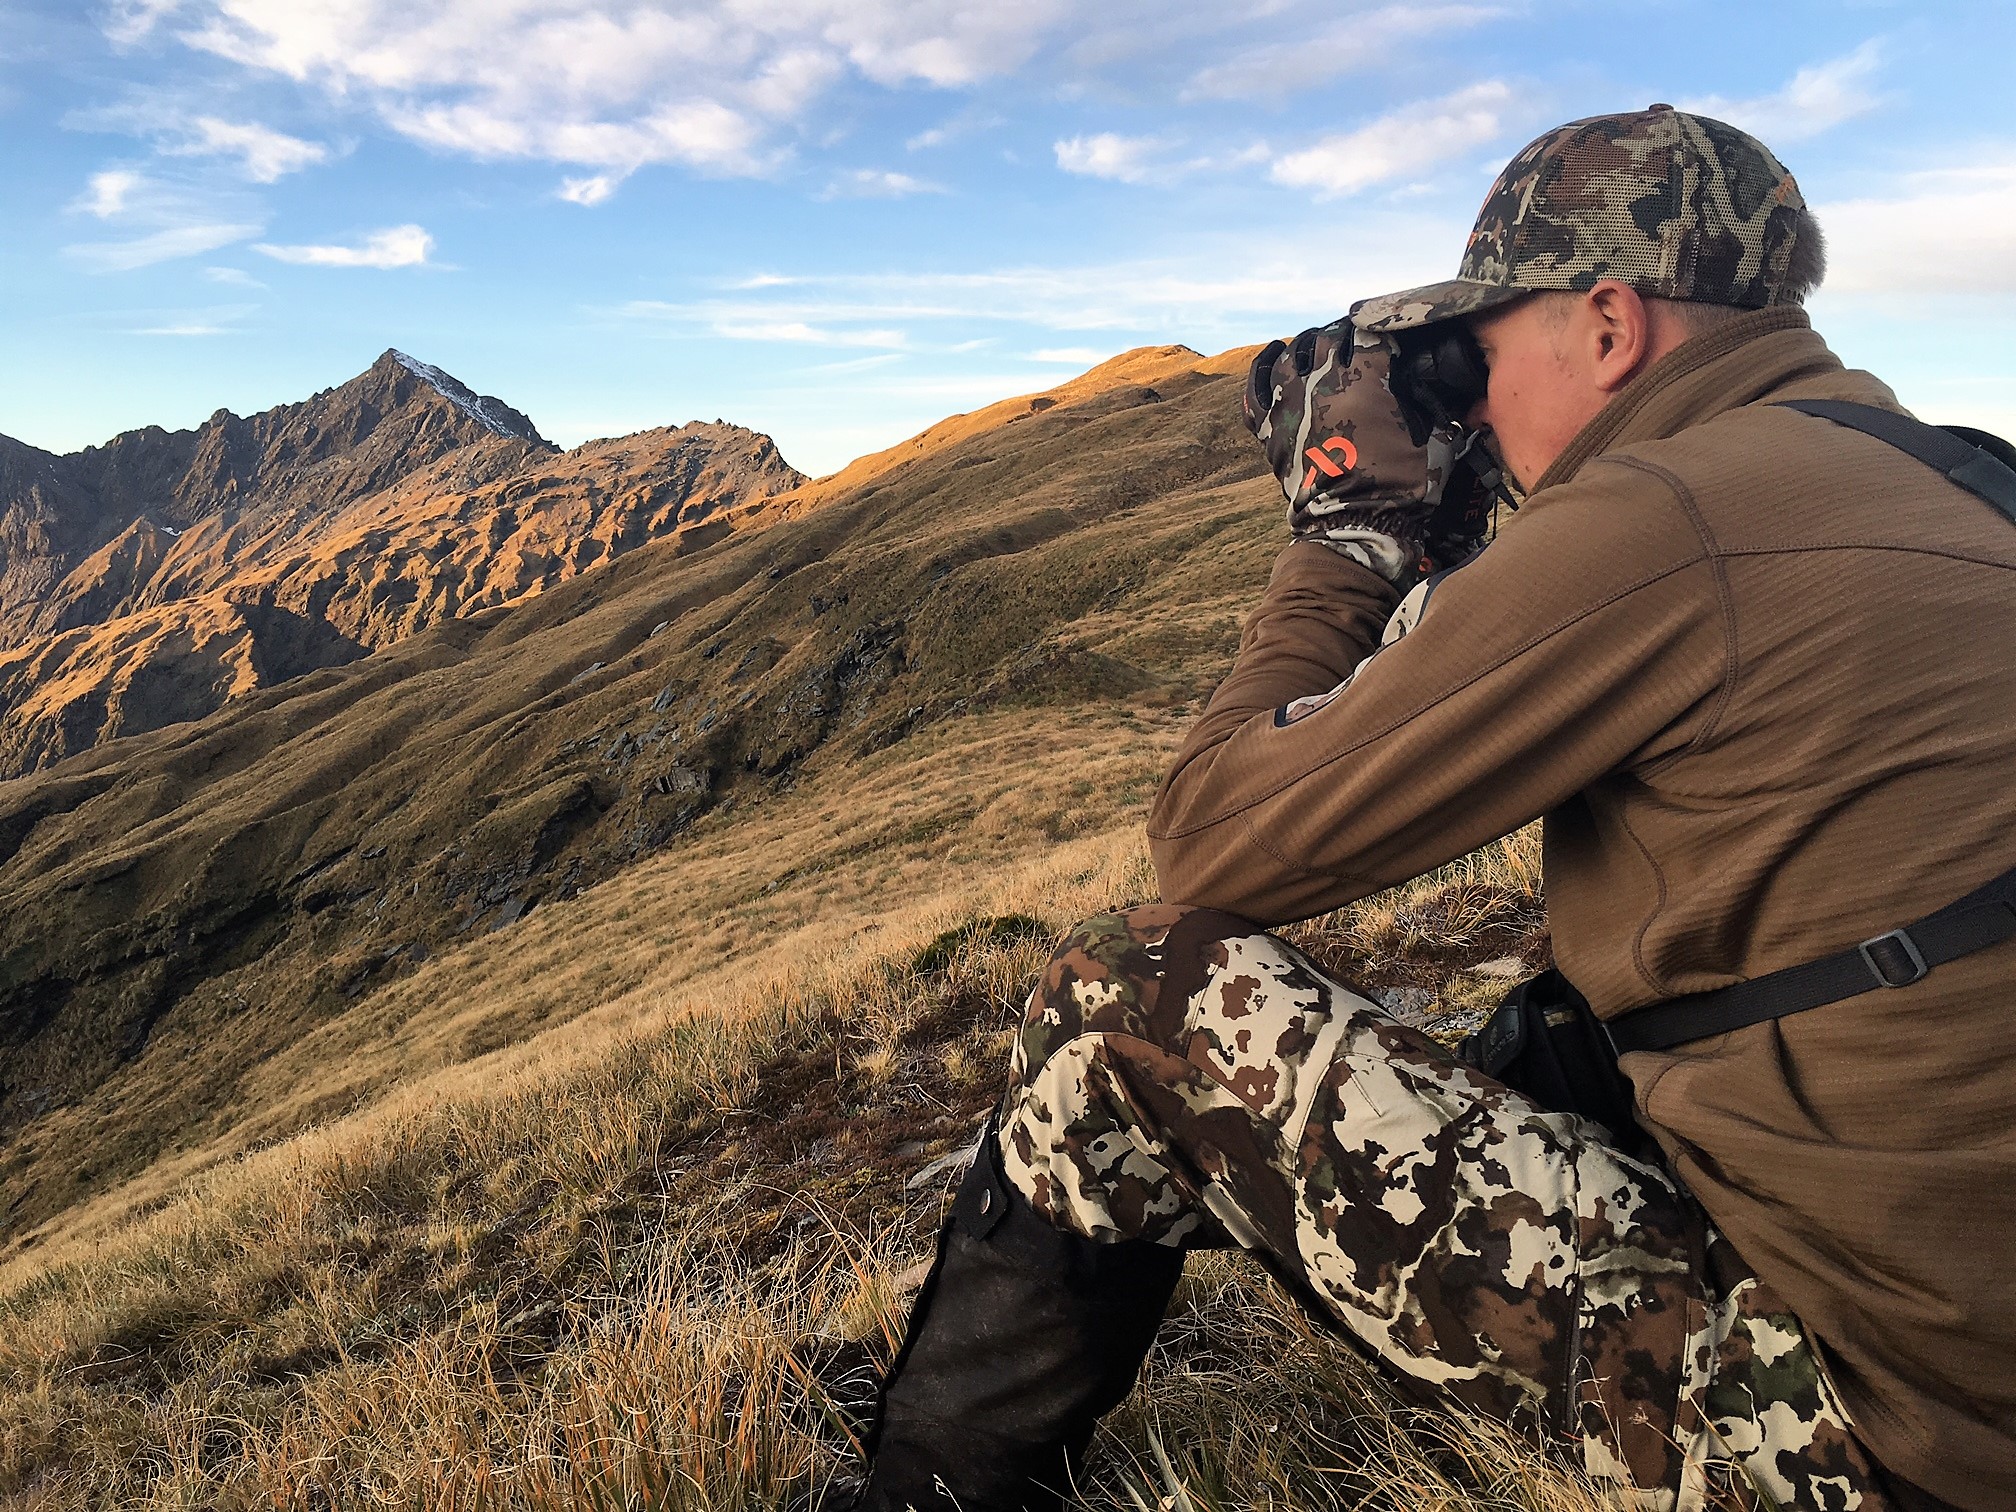
 Ben Campbell in tahr country - image @Cam
 Image @Shaun Monk
 Ben Campbell - image @Cam
The Subject
Obviously scoring those live photos of game is always the goal, this can be damn hard to get right and often involves an element of luck. If that big stag is unaware of your presence then have a crack at taking a few images of him before getting behind the rifle, you’ll probably enjoy those photo’s more than just having the rack on the wall.
This also eliminates ANY possibility of misidentifying your target. No hunter will ever spend 2-5 minutes trying to photograph a “deer” only to them find he has shot a bloke when he swaps to the rifle. Photographing animals also gives the hunter huge insights into animal behavior which can be valuable insight for future hunting trips for that species or that location.
There’s plenty of other subjects you can photograph like people, dogs, huts, birds, insects, vegetation... anything really. Try and get creative with the angle you’re shooting from, the usual facing the camera or over the shoulder shot of your hunting buddy can get pretty boring pretty quickly. Not to mention people such as myself get sick of standing there feeling awkward knowing a photo’s being taken.
Another pro tip is to try positioning your subject to the side of the image and not always in the middle, this becomes really important when the backdrop behind them as special as the people in it. (see x3 images above).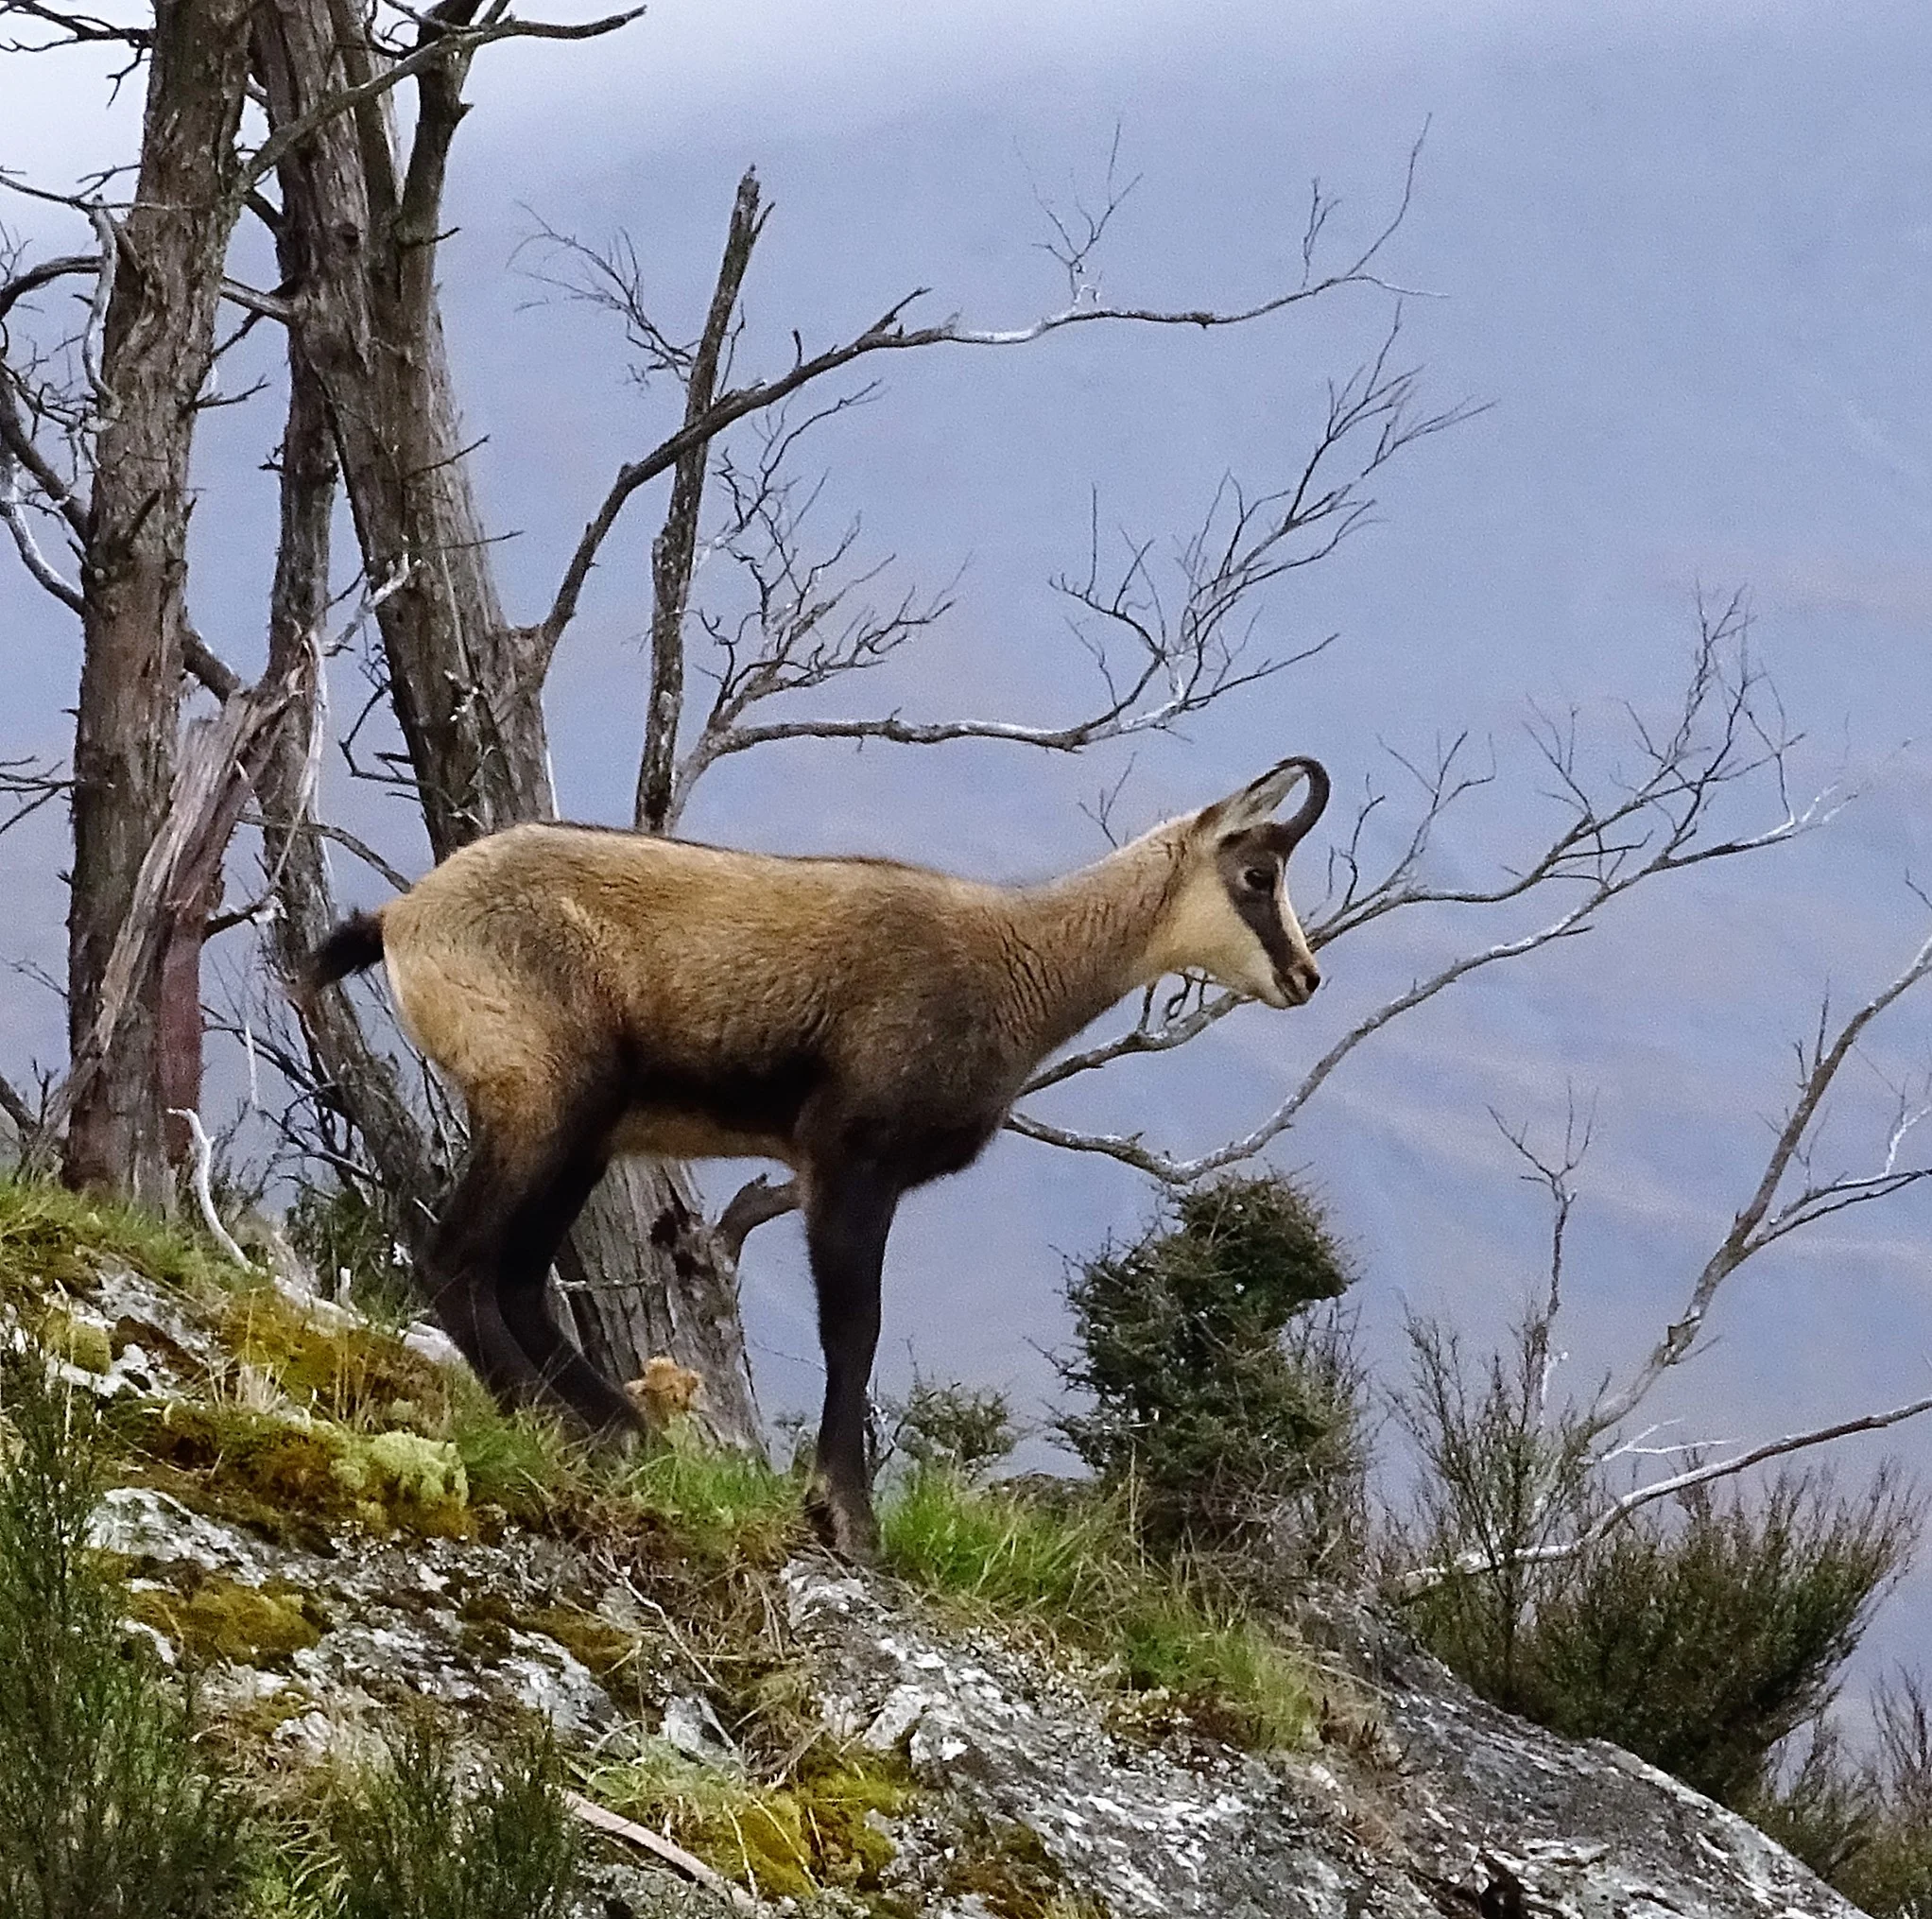 Image_ Cam
 The real life midget Jack Parr. Image_ Cam
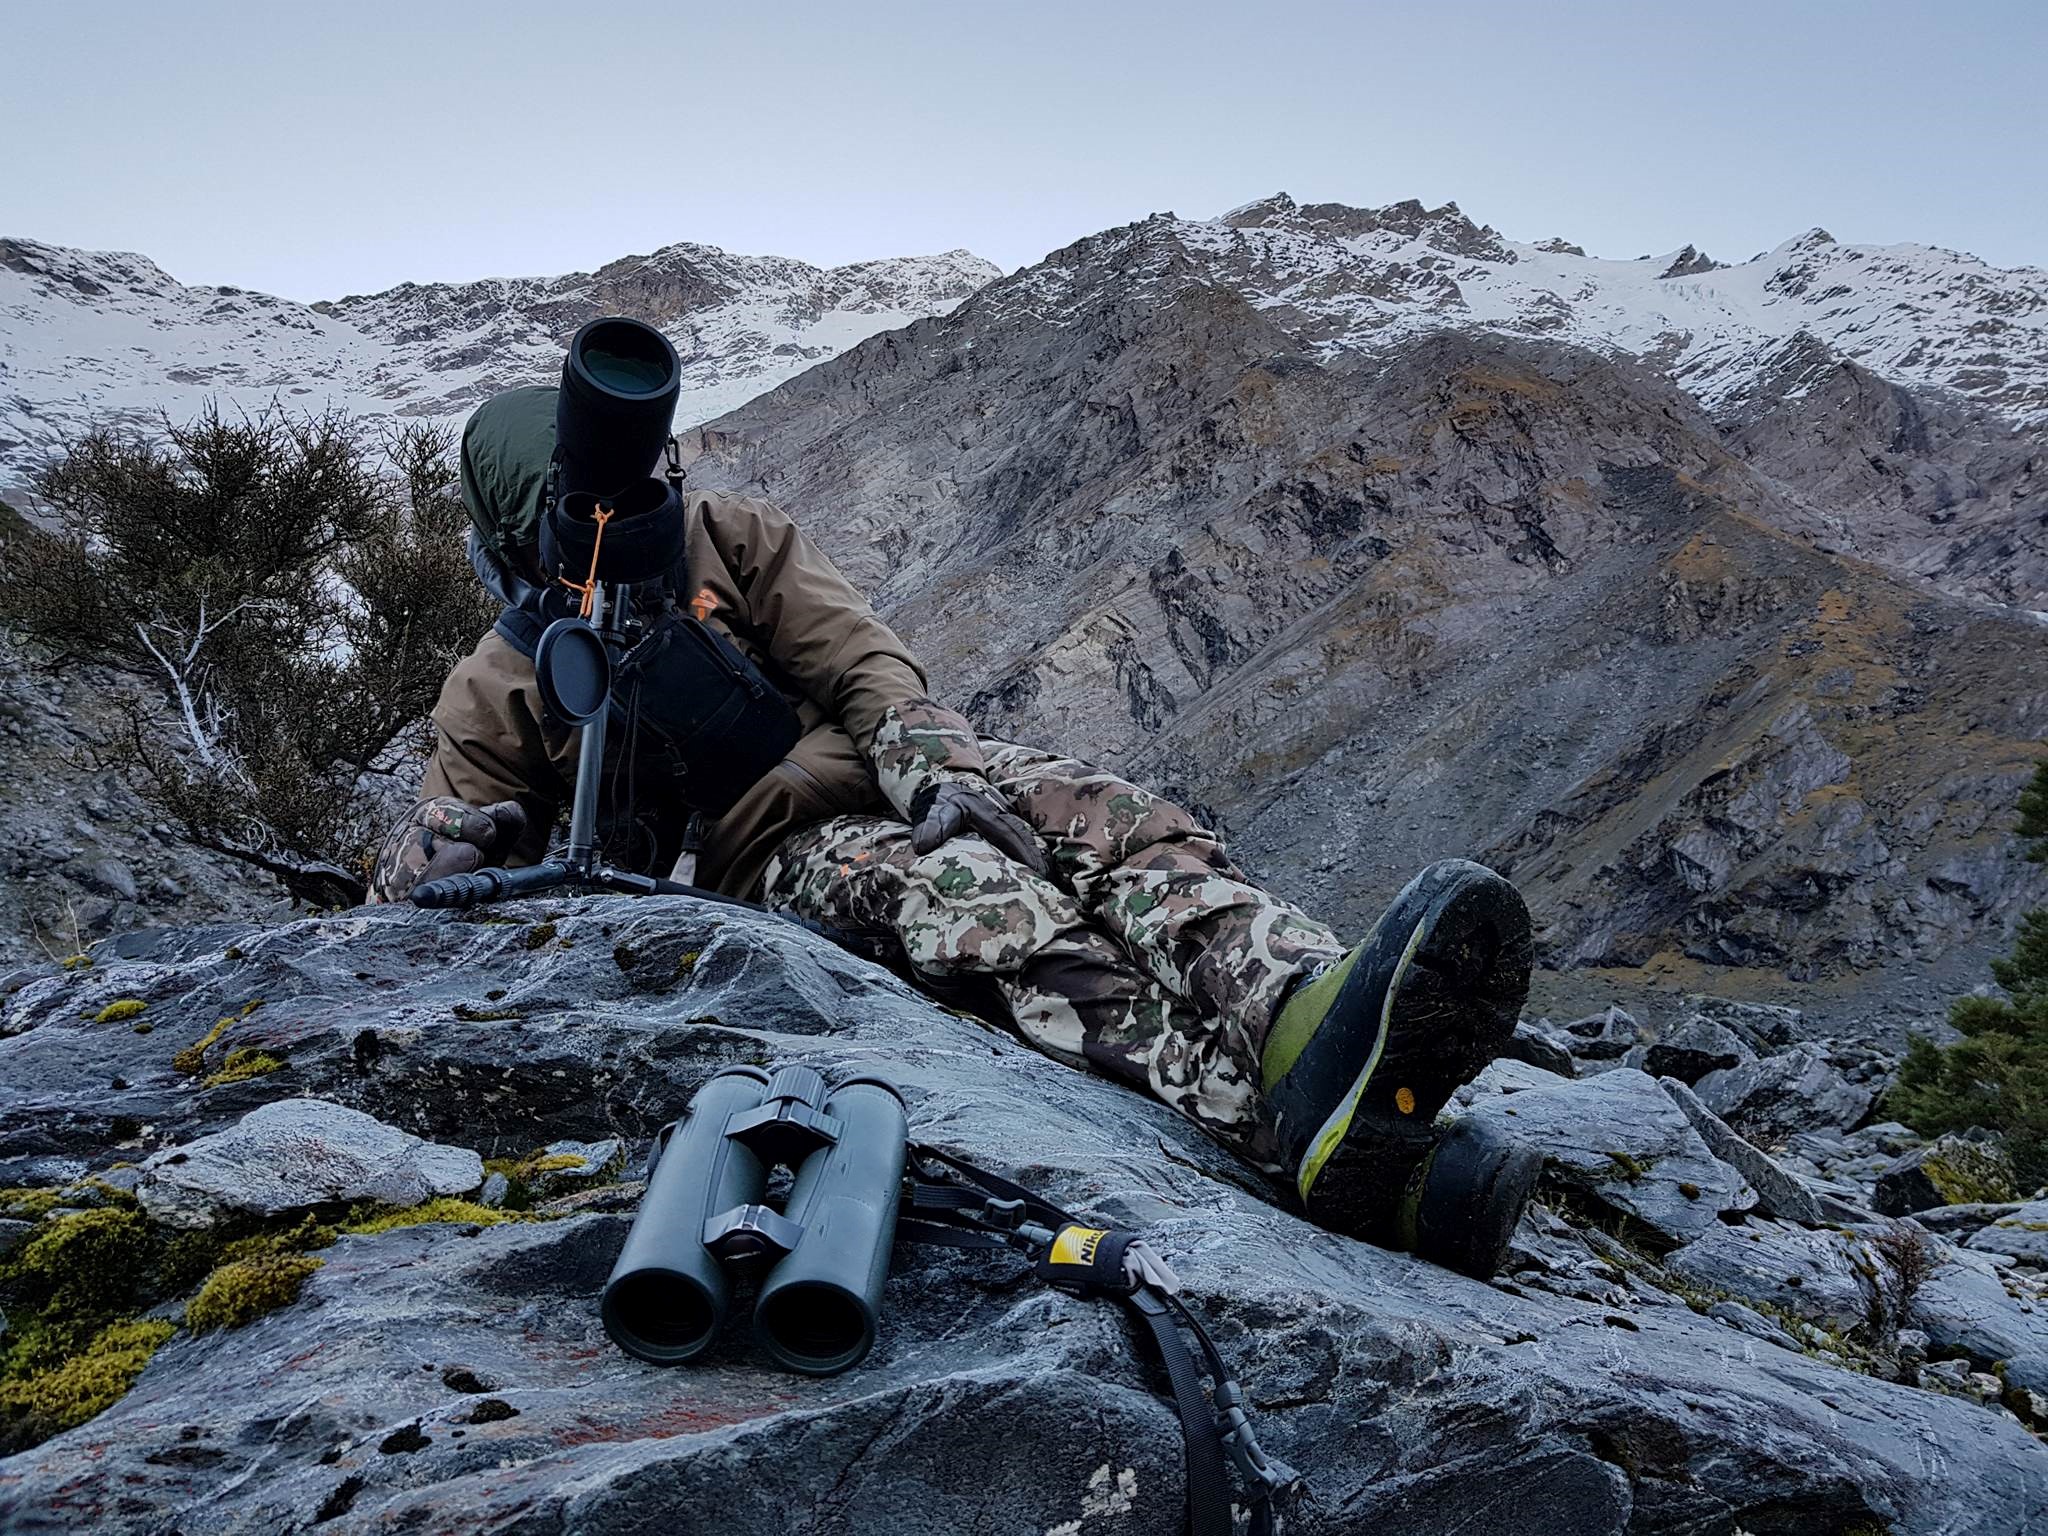
 Image_ Shaun Monk
  Shaun Monk/Luke Potts
The Camera
These days a reasonable camera isn’t that expensive, so you should invest in one and stop shooting photos on your phone. One of the key things to look for is the amount of zoom the camera has as we all know getting close to game can be difficult so being able to zoom in from a few hundred metres away is vital. The improvement in the quality of your images will be instant.
Personally I still use a really compact camera that still has a large amount of zoom. I’m not interested in carrying a big camera body and different lenses around as it’s too bulky and heavy (not too mention I wouldn’t know how to get the best out of it either!). My camera is just always in a jacket pocket so I can quickly pull it out and use it before anyone has even realised or the game has moved on.
A small point and shoot digital camera can also be set up to film in HD these days,and a short film of you setting up and firing, can add to a movie being made at home later,but might also provide info on “did you flinch” and that’s why that shot went high. Modern DSLR camera’s don’t have multiple lenses and can be as powerful as a spotter scope (50-60 xoptical zoom and often with digital zoom after this) and are valuable for assessing animals. A photo can be taken, then viewed and zoomed in to count points or assess horns. And everyone loves a slow-mo video of a great kill shot dropping the animal on the spot. Image_ Luke Potts
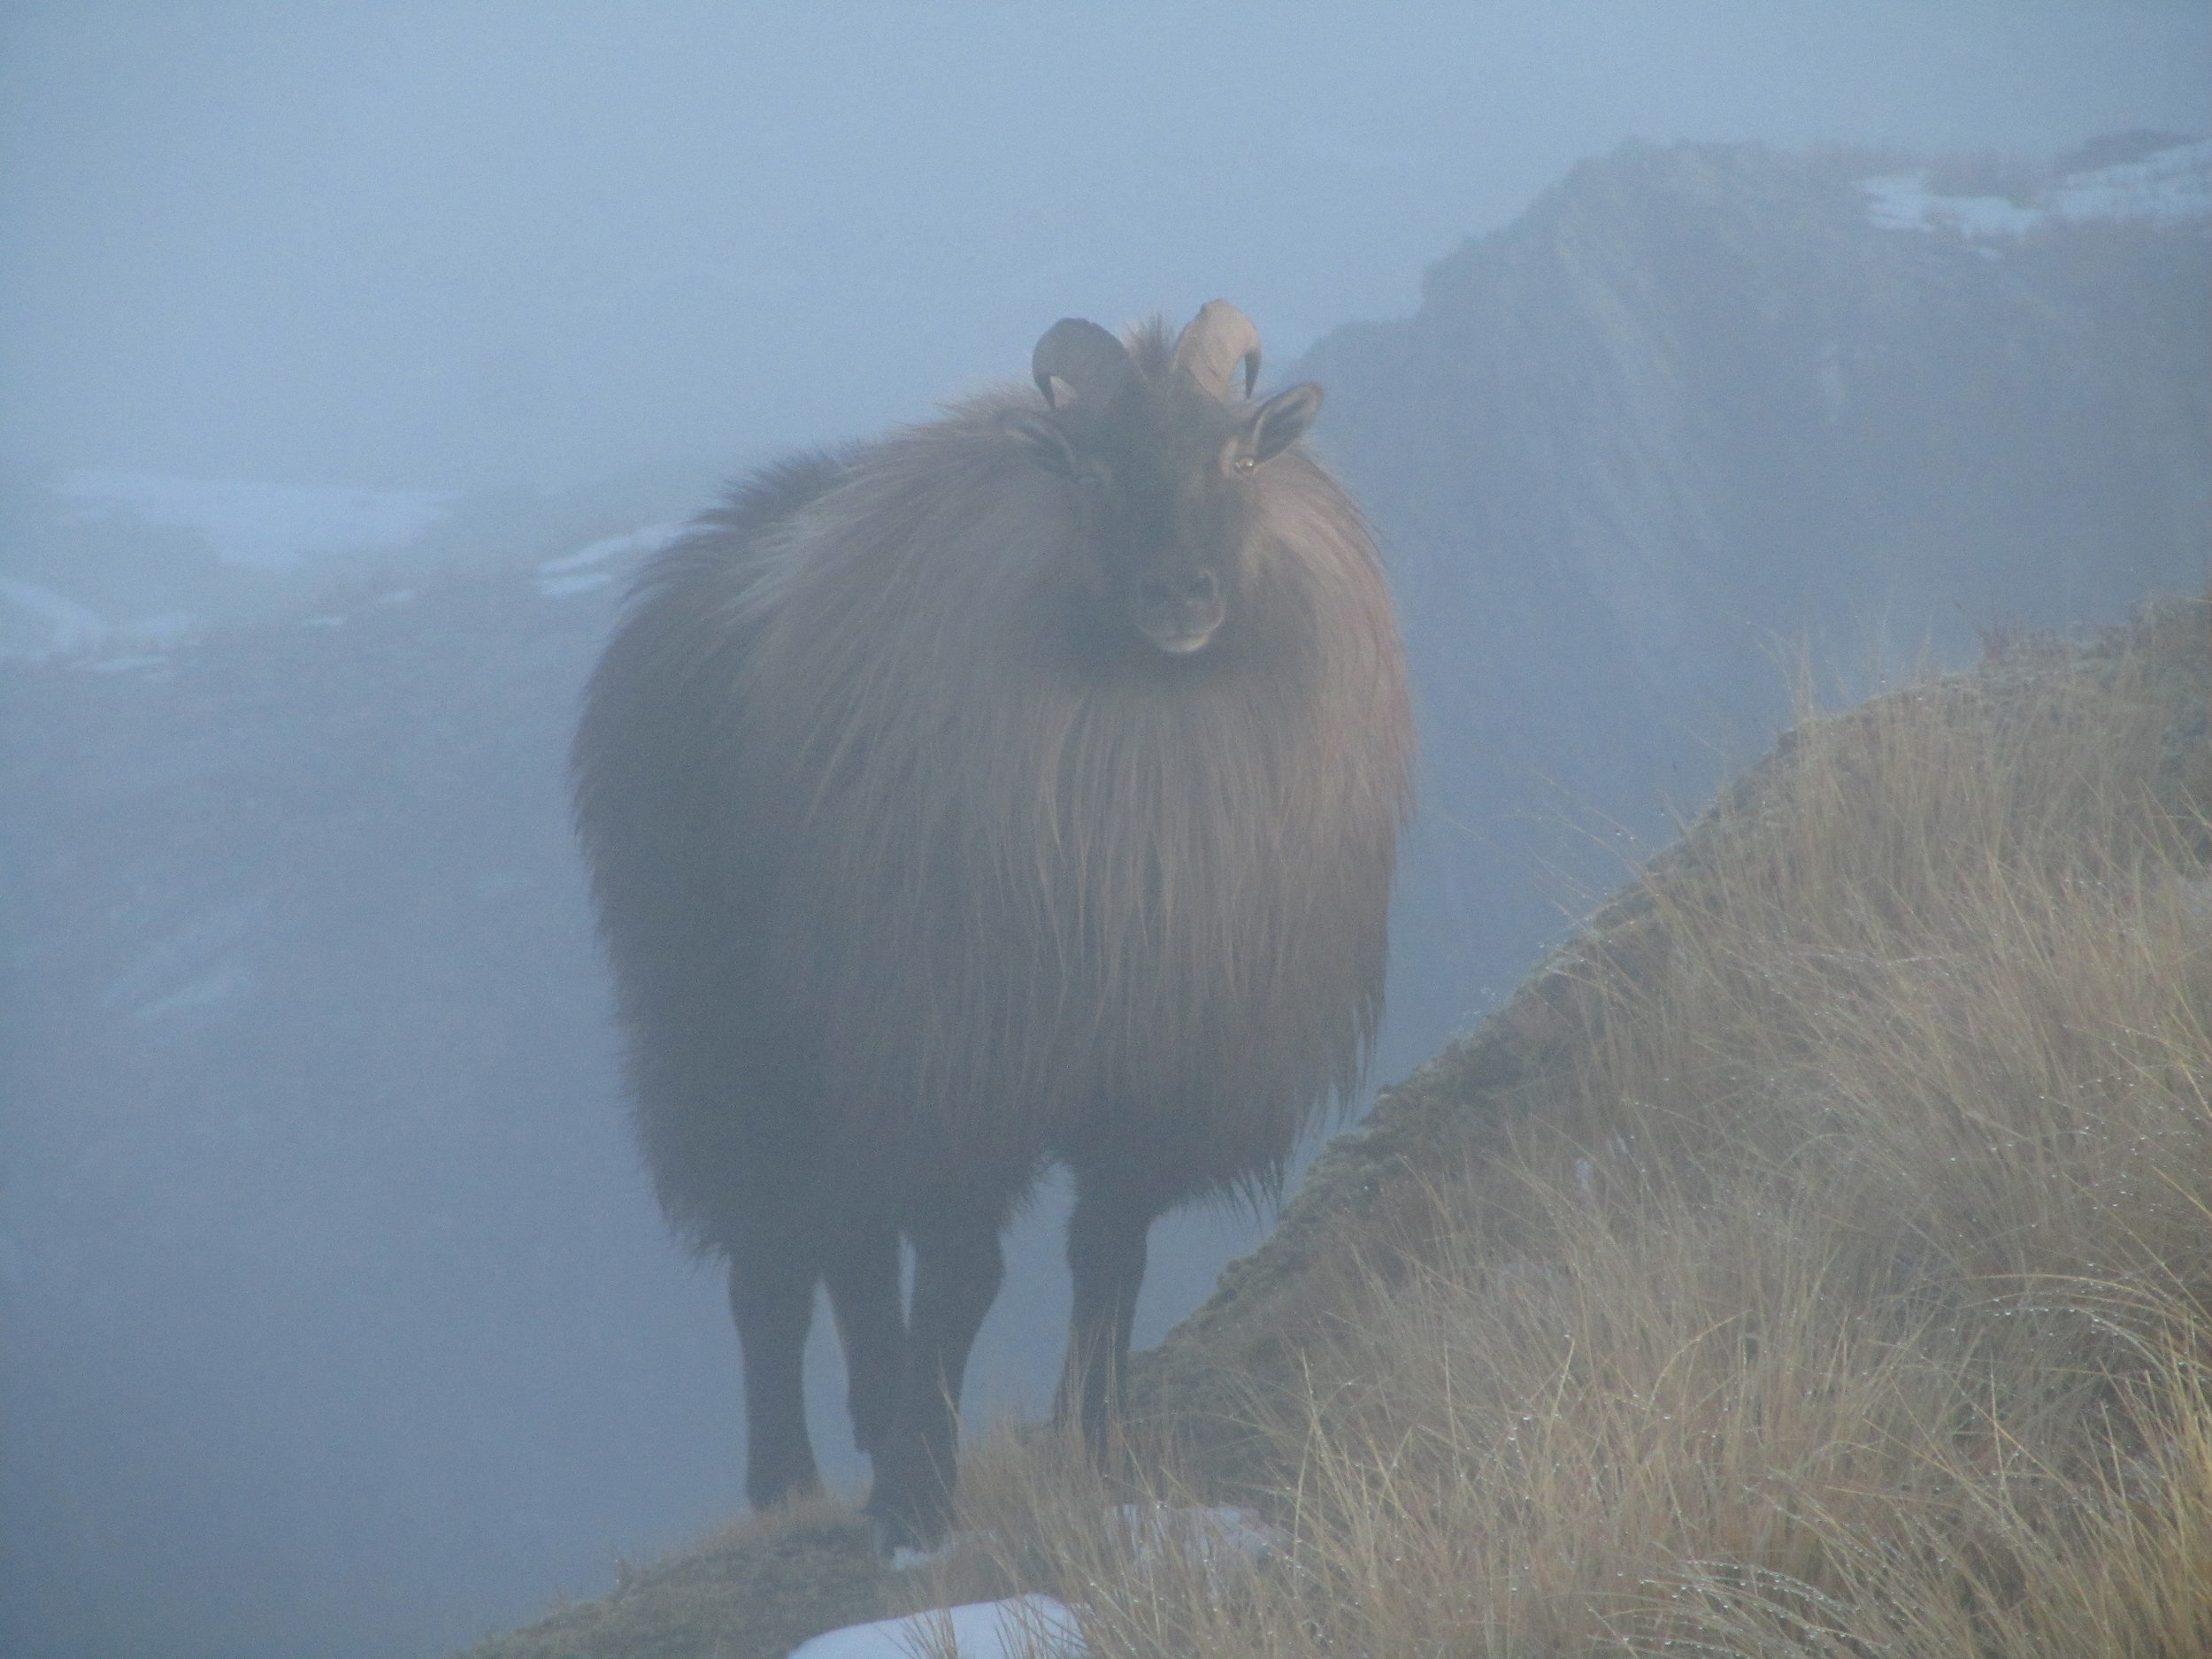 Nailed it Image_ Luke Potts
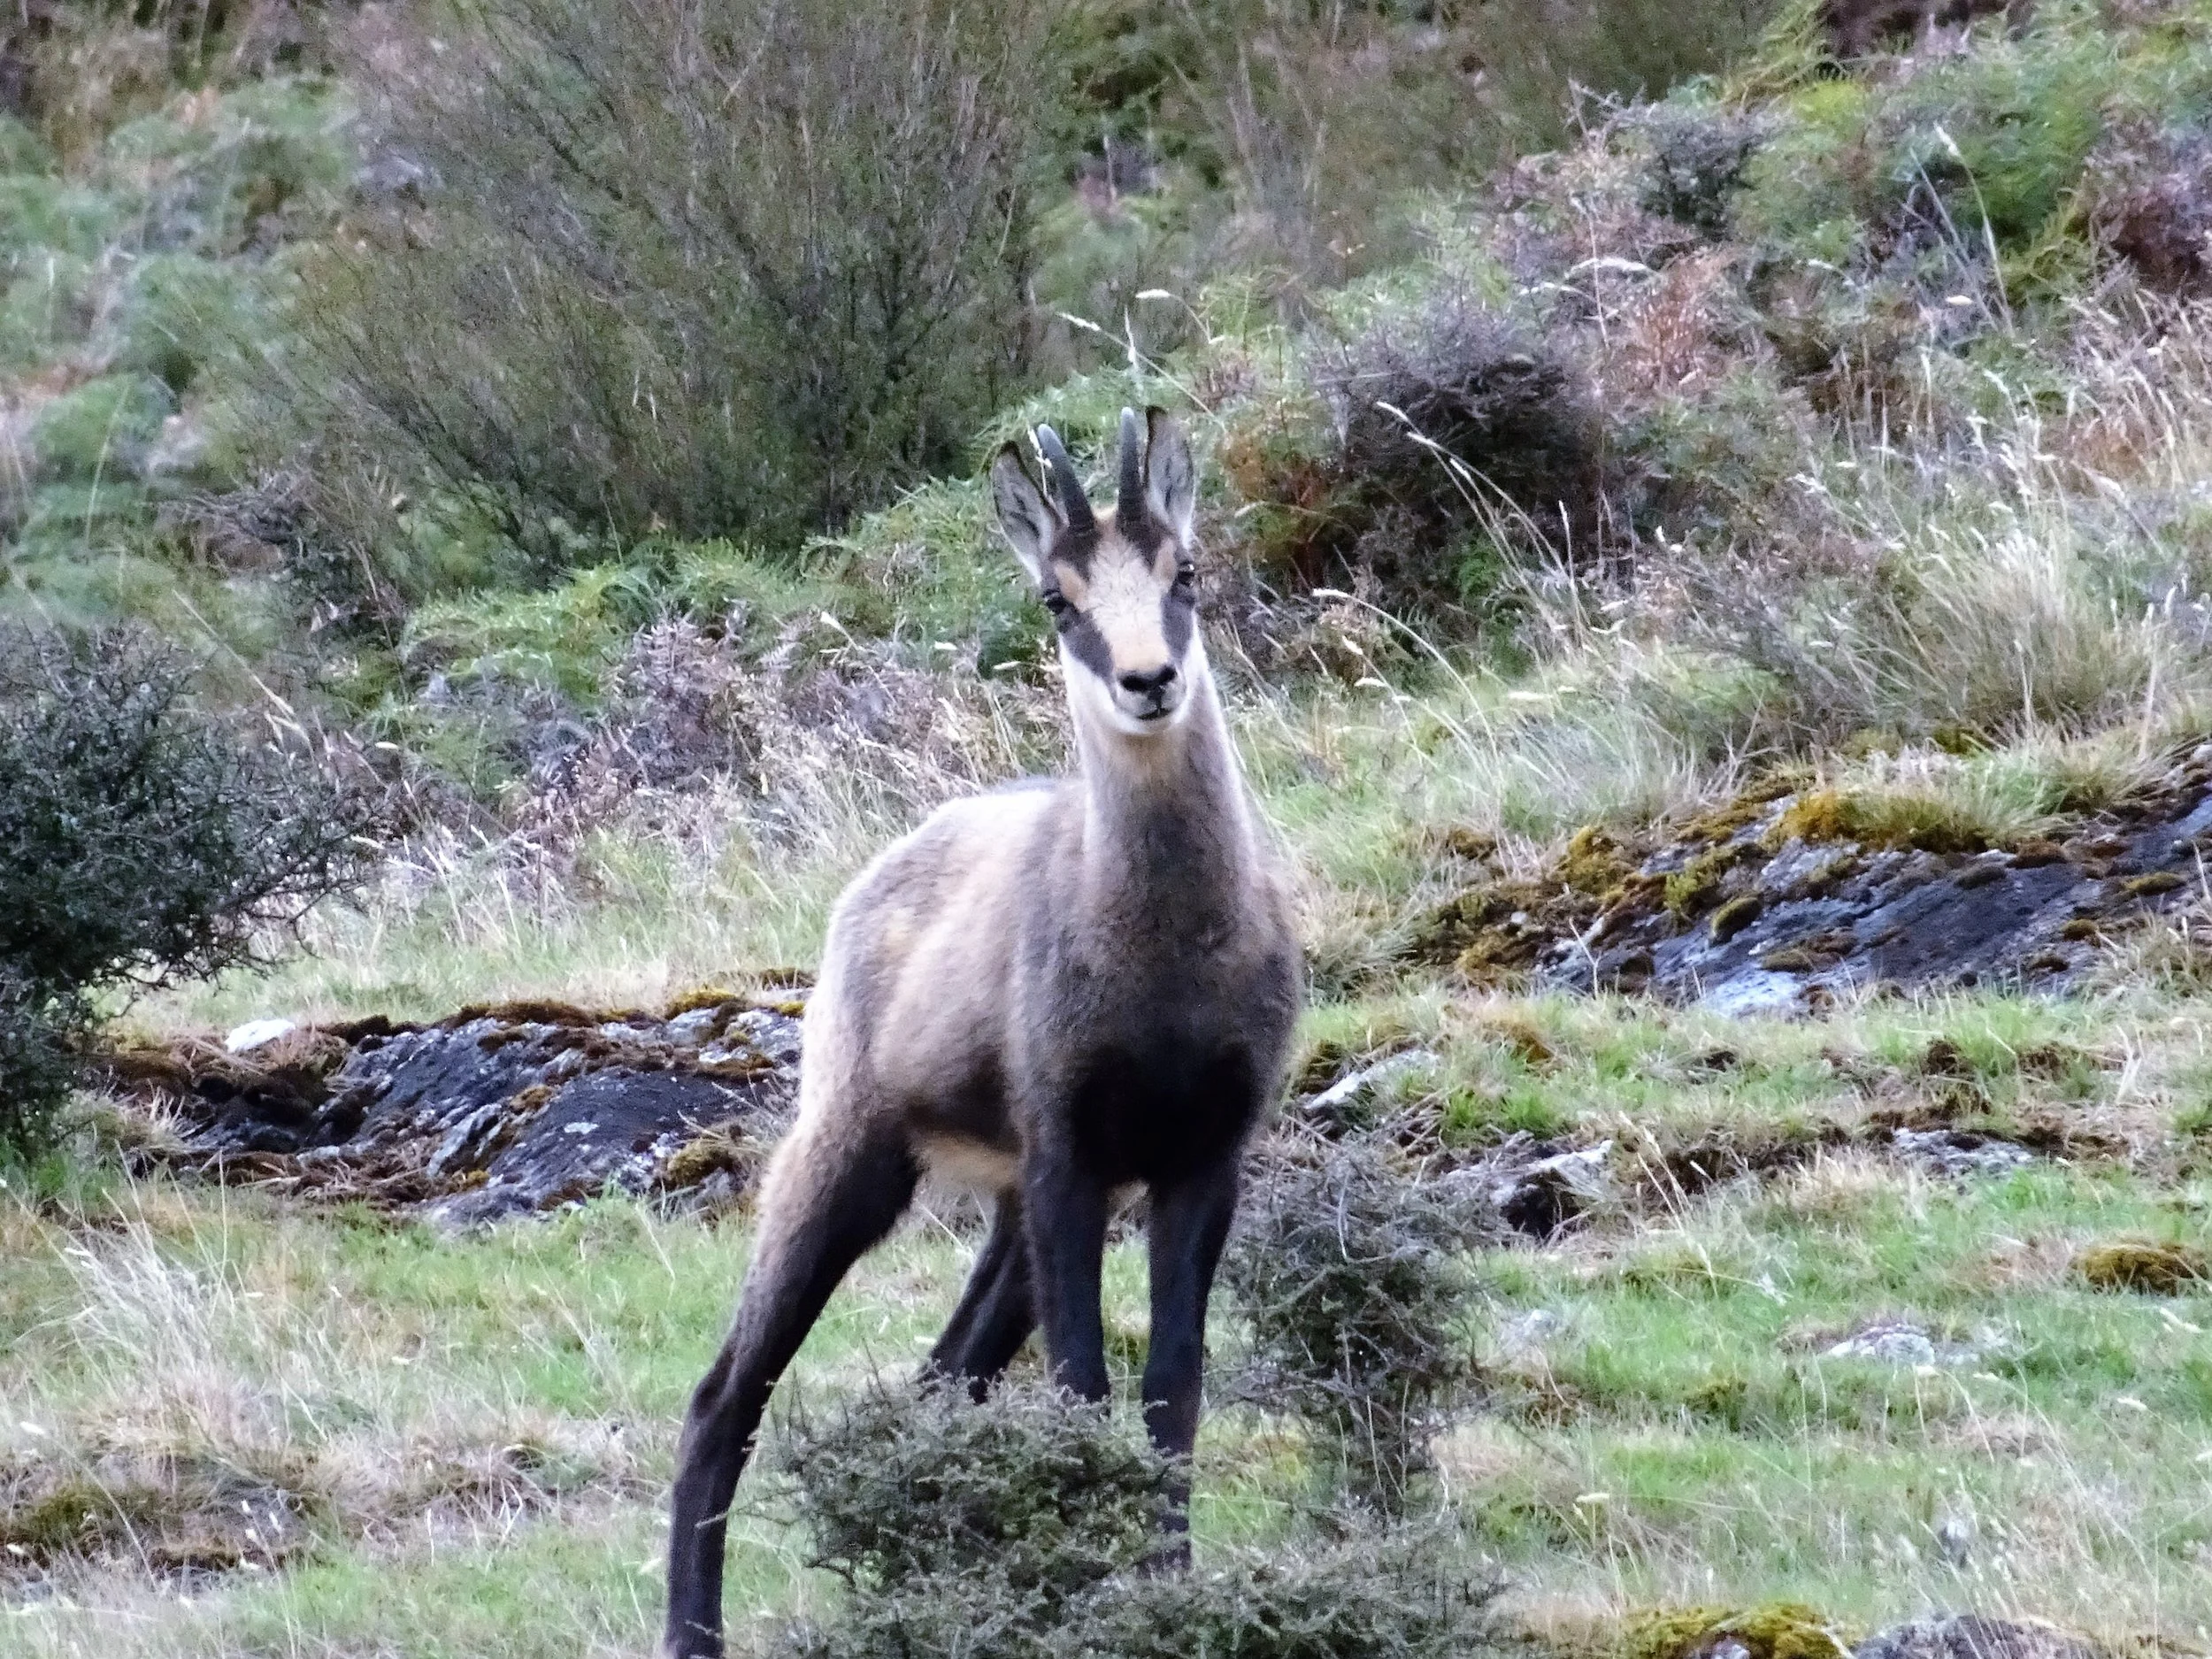
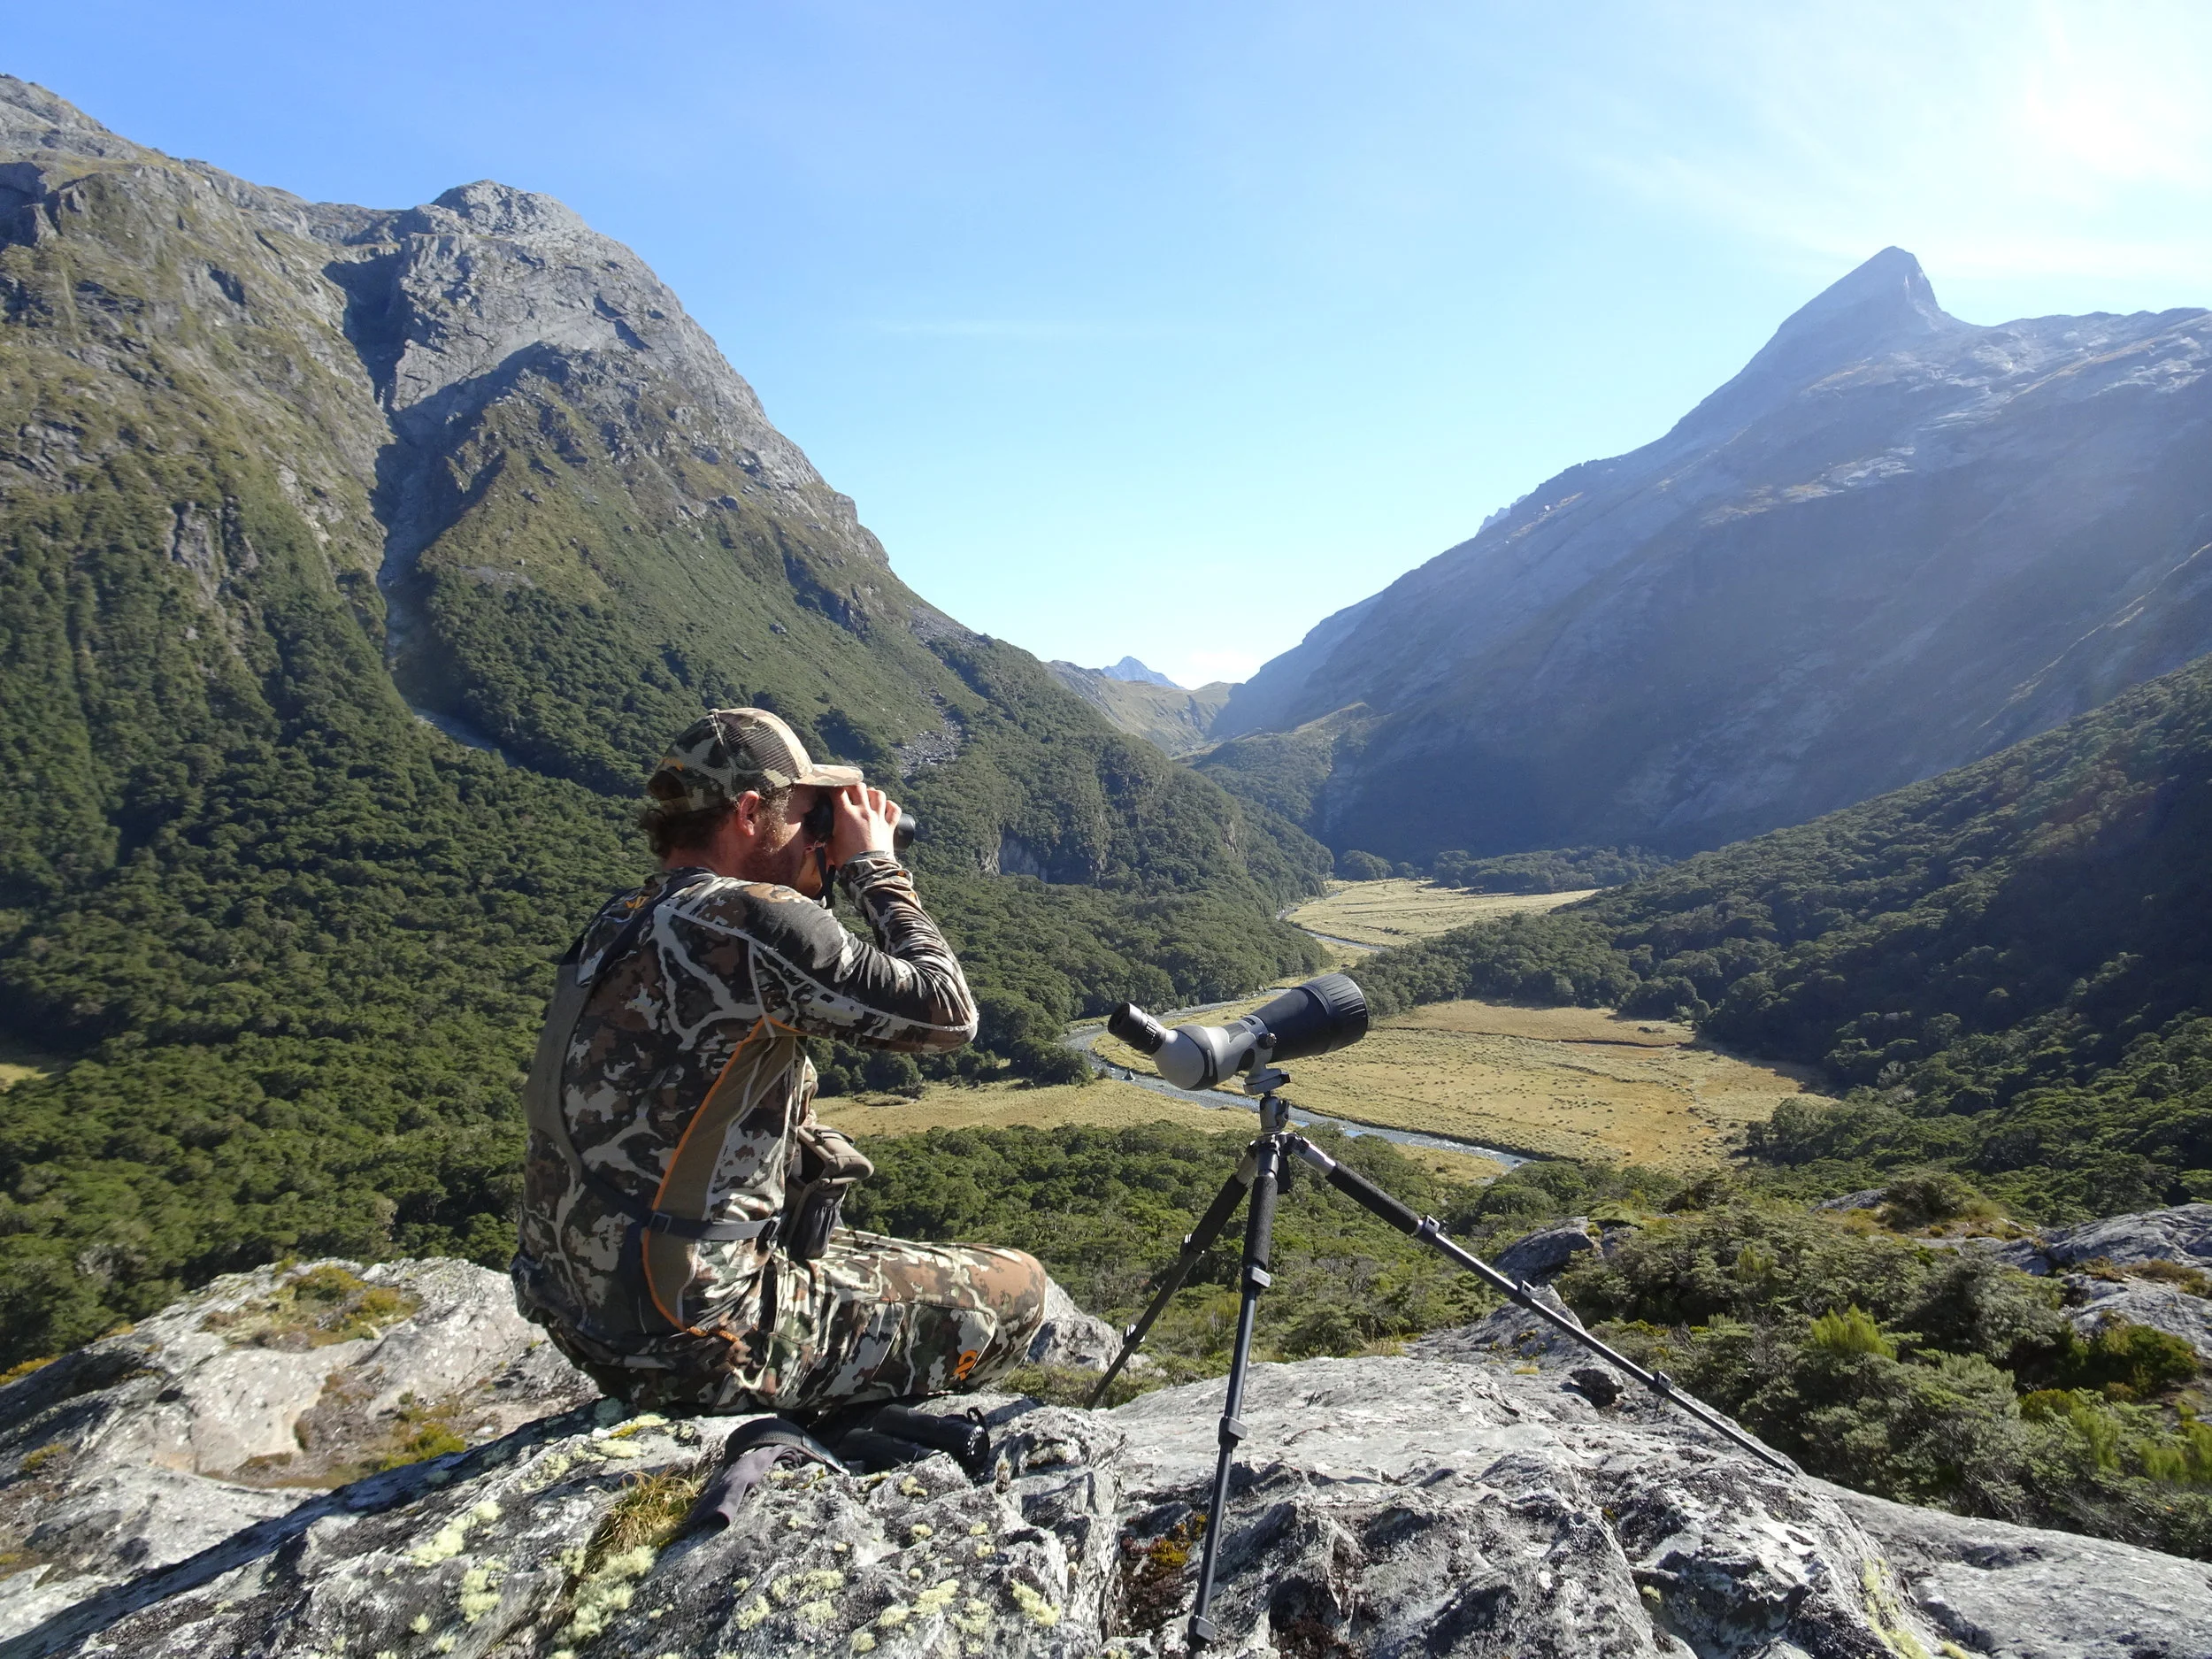
A Tripod
As previously mentioned you’ll get much sharper images if you can hold the camera still, this is particularly relevant when zoomed in – no brainer really. I run the same attachments for both my camera and my spotting scope so I can quickly switch between the two. If your well zoomed in then try setting a short timer like 2 seconds, this will eliminate the small amount of movement created by pushing the button on the camera. This was shot in a rush at 400 yards with no tripod....could have been better. Image_ Cam McKay/Luke Potts
 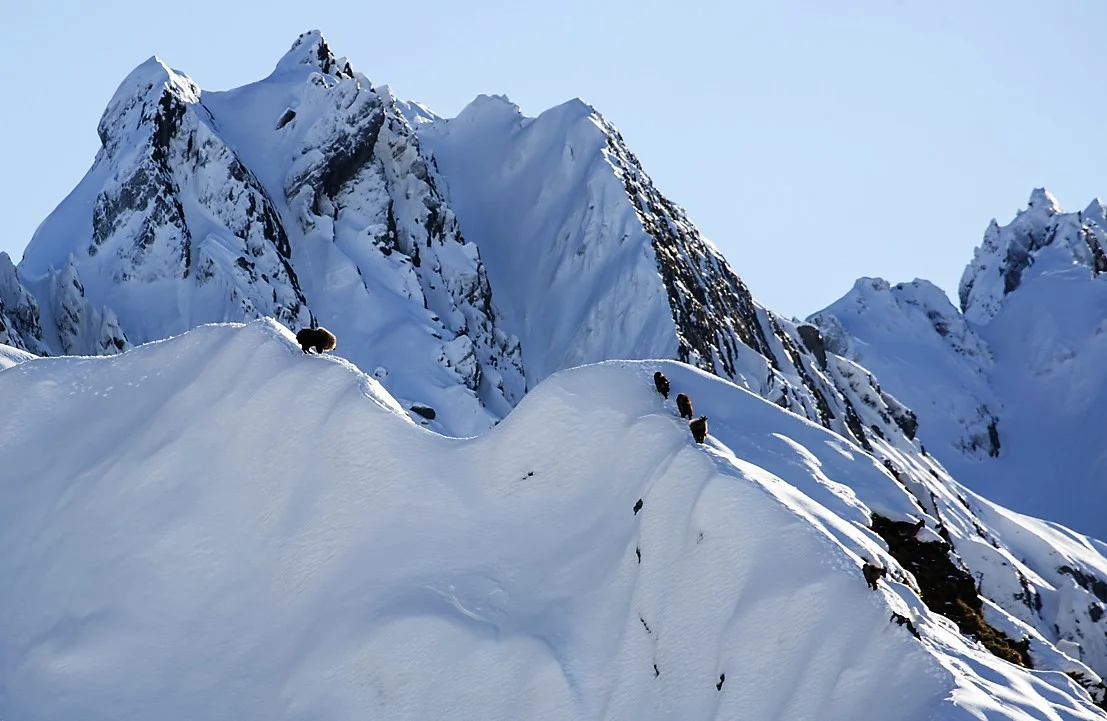 Shot off a tripod at 500ish yards Image_ Neil Kerr
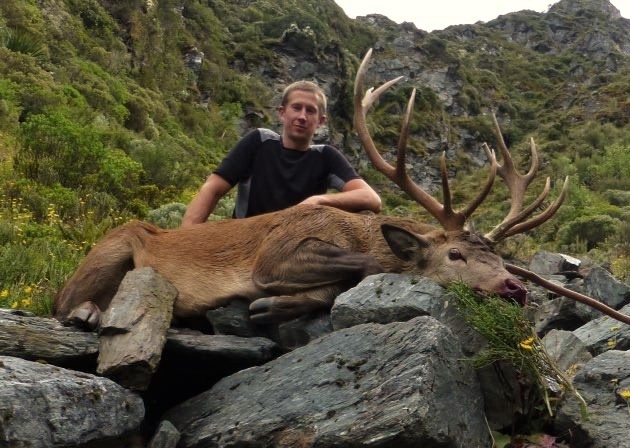
The Trophy Photo
I get sent a bunch of trophy photos and there’s some I just won’t use, or I spend a bunch of time cutting out blood and guts with Photoshop before I can use them. No one wants to see a gory photo, and it’s important we have respect for our quarry as well as maintaining a reasonable perception of our sport.
Here’s a quick handful of some simple do’s and do not's for when you have shot that animal of a lifetime or simply a meat animal you want to gloat about to your friends on social media.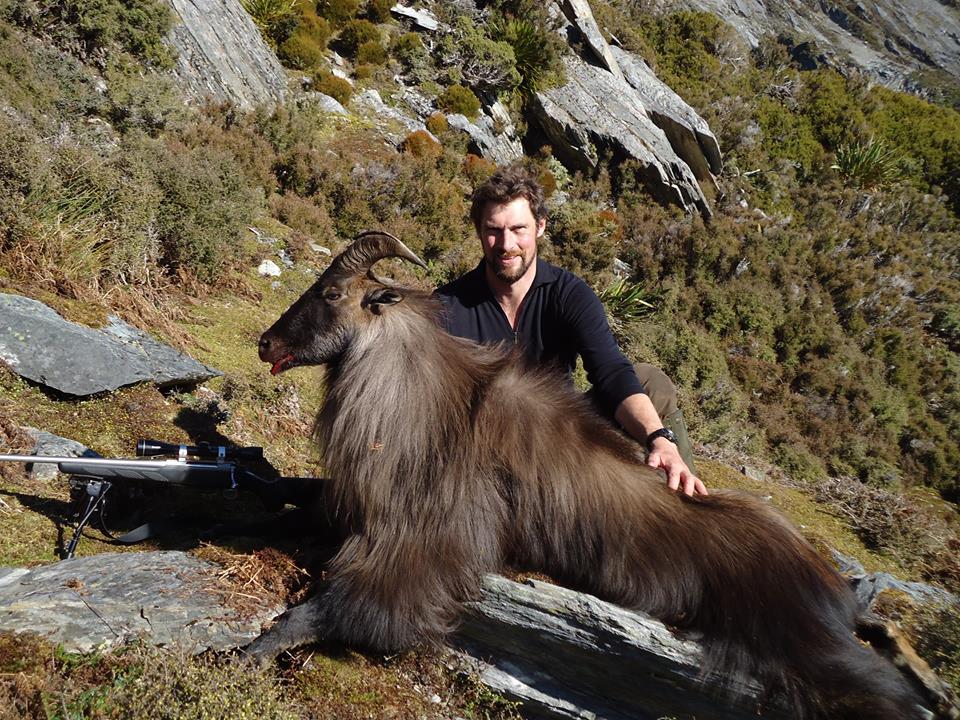 Shaun Monk archives
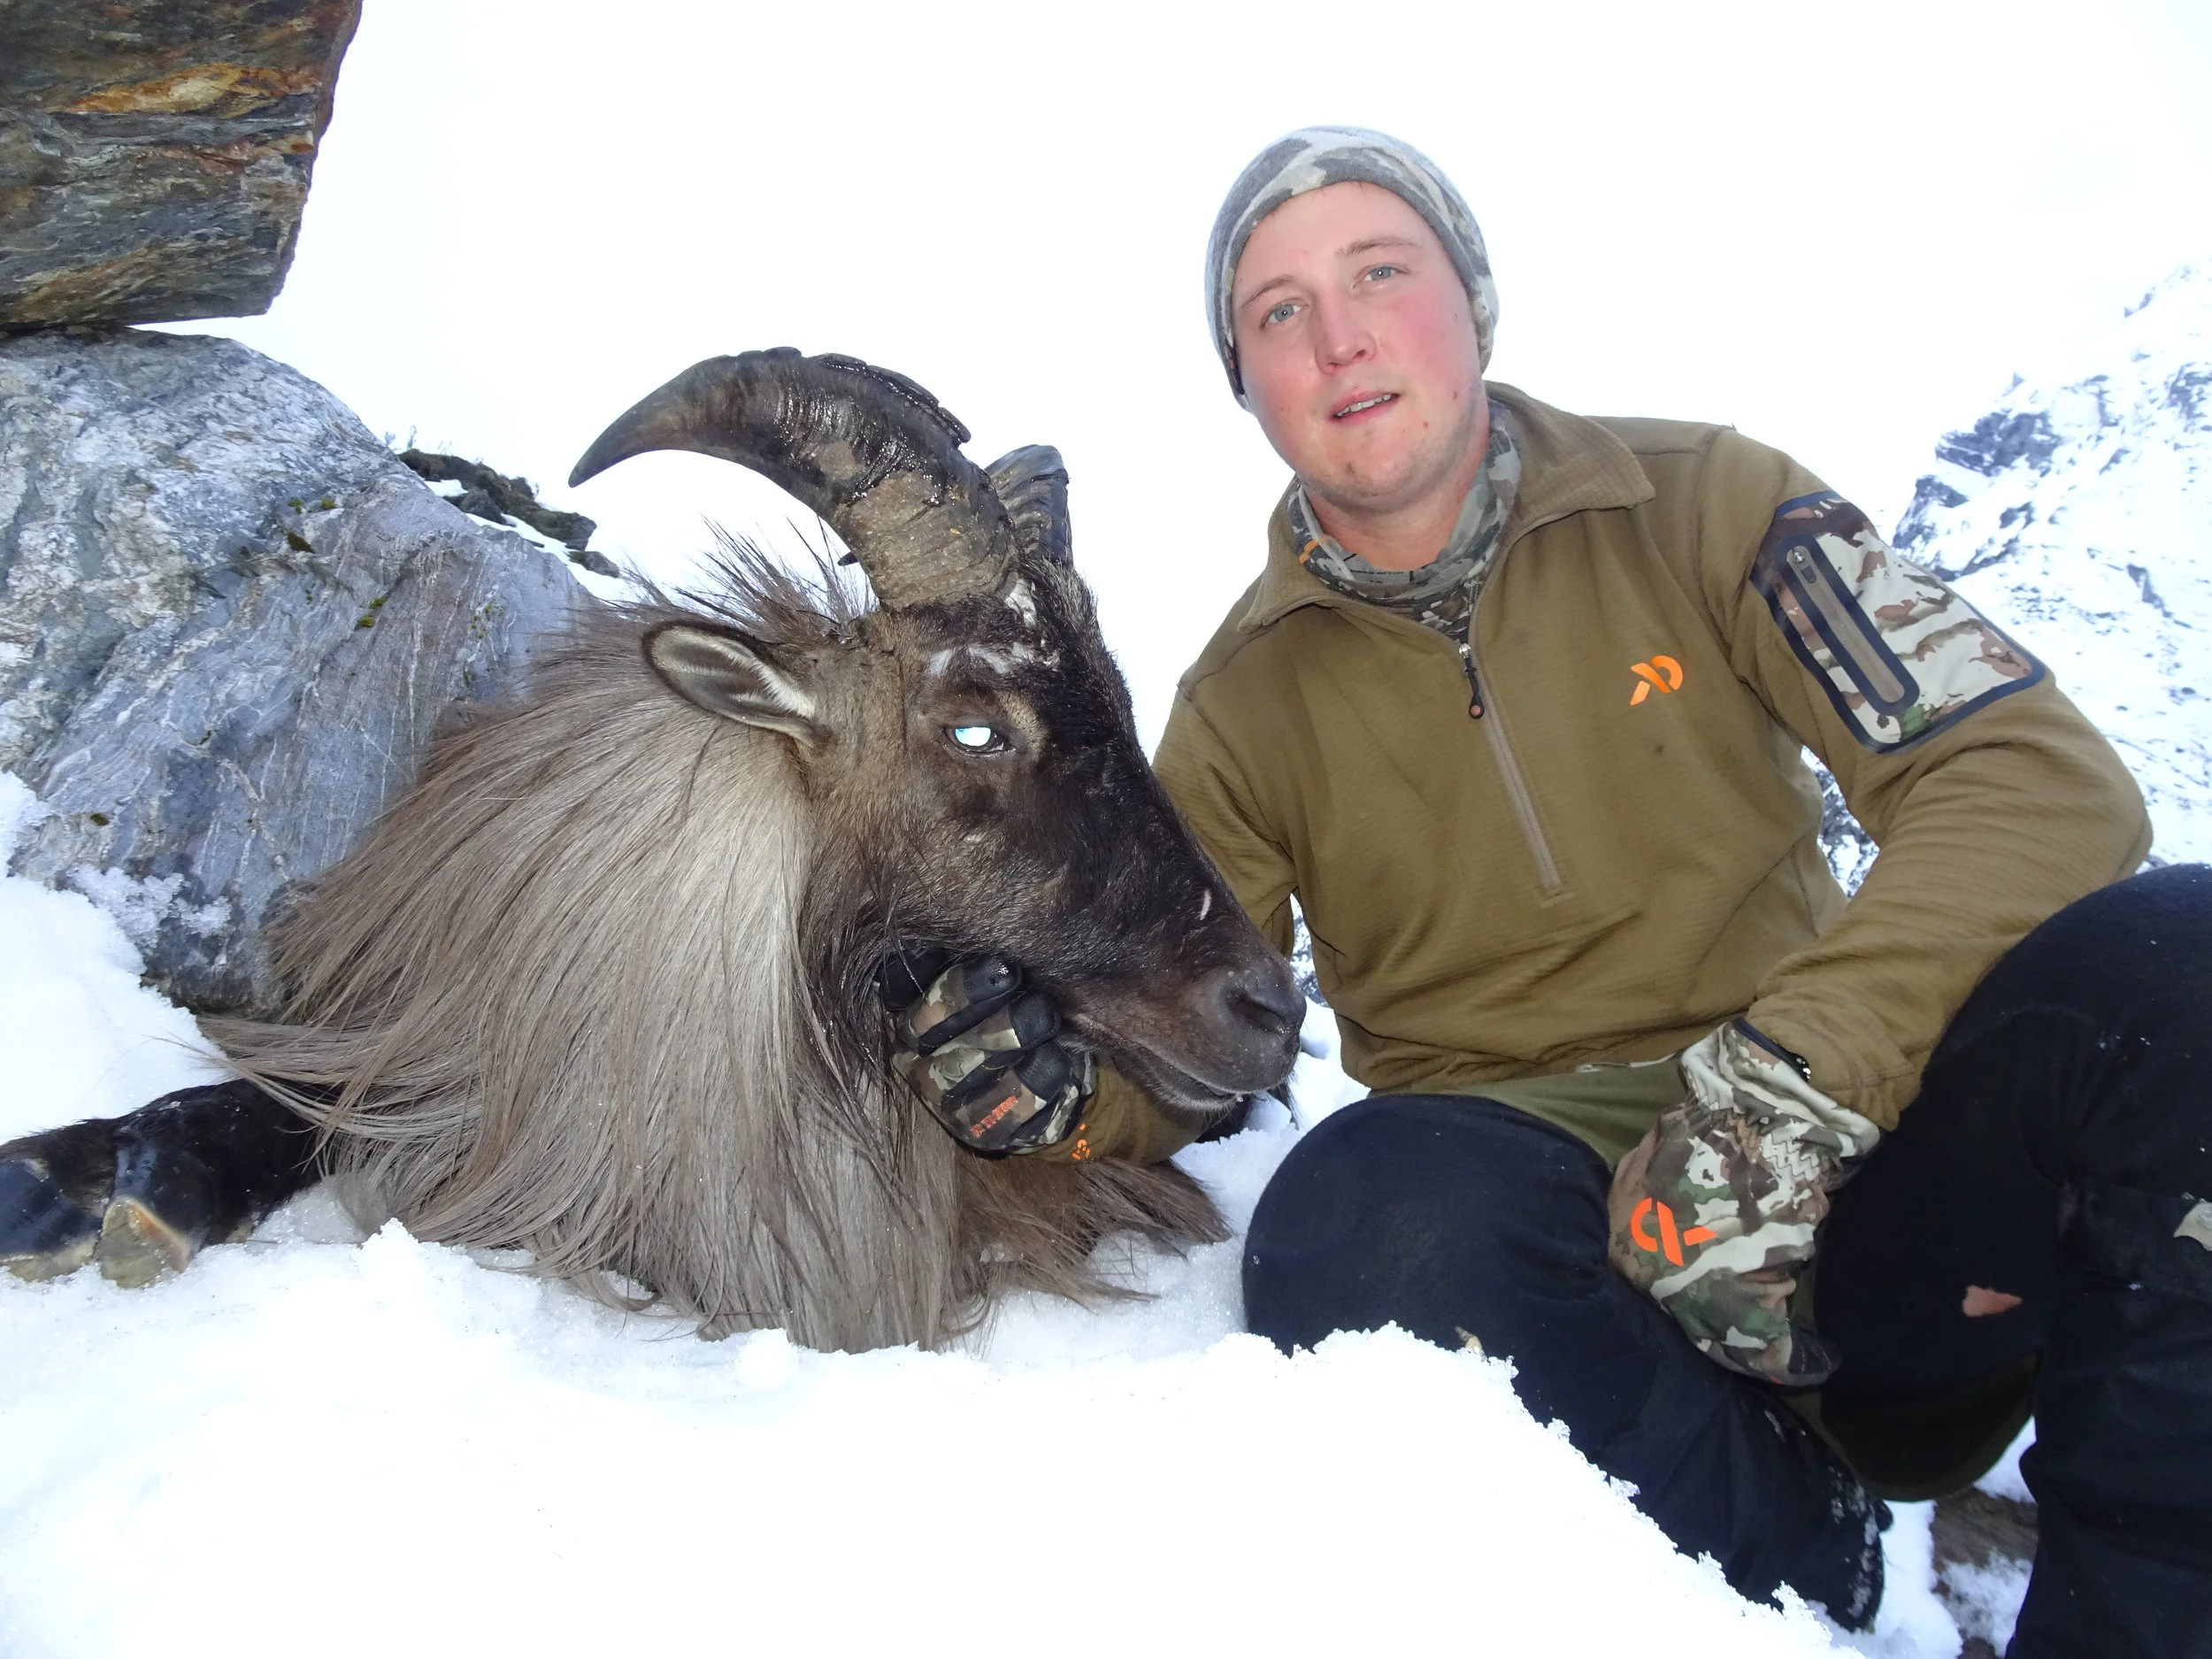
 Chloe King & Yuki, image Scotty Ellison
  Hayden Sturgeon
 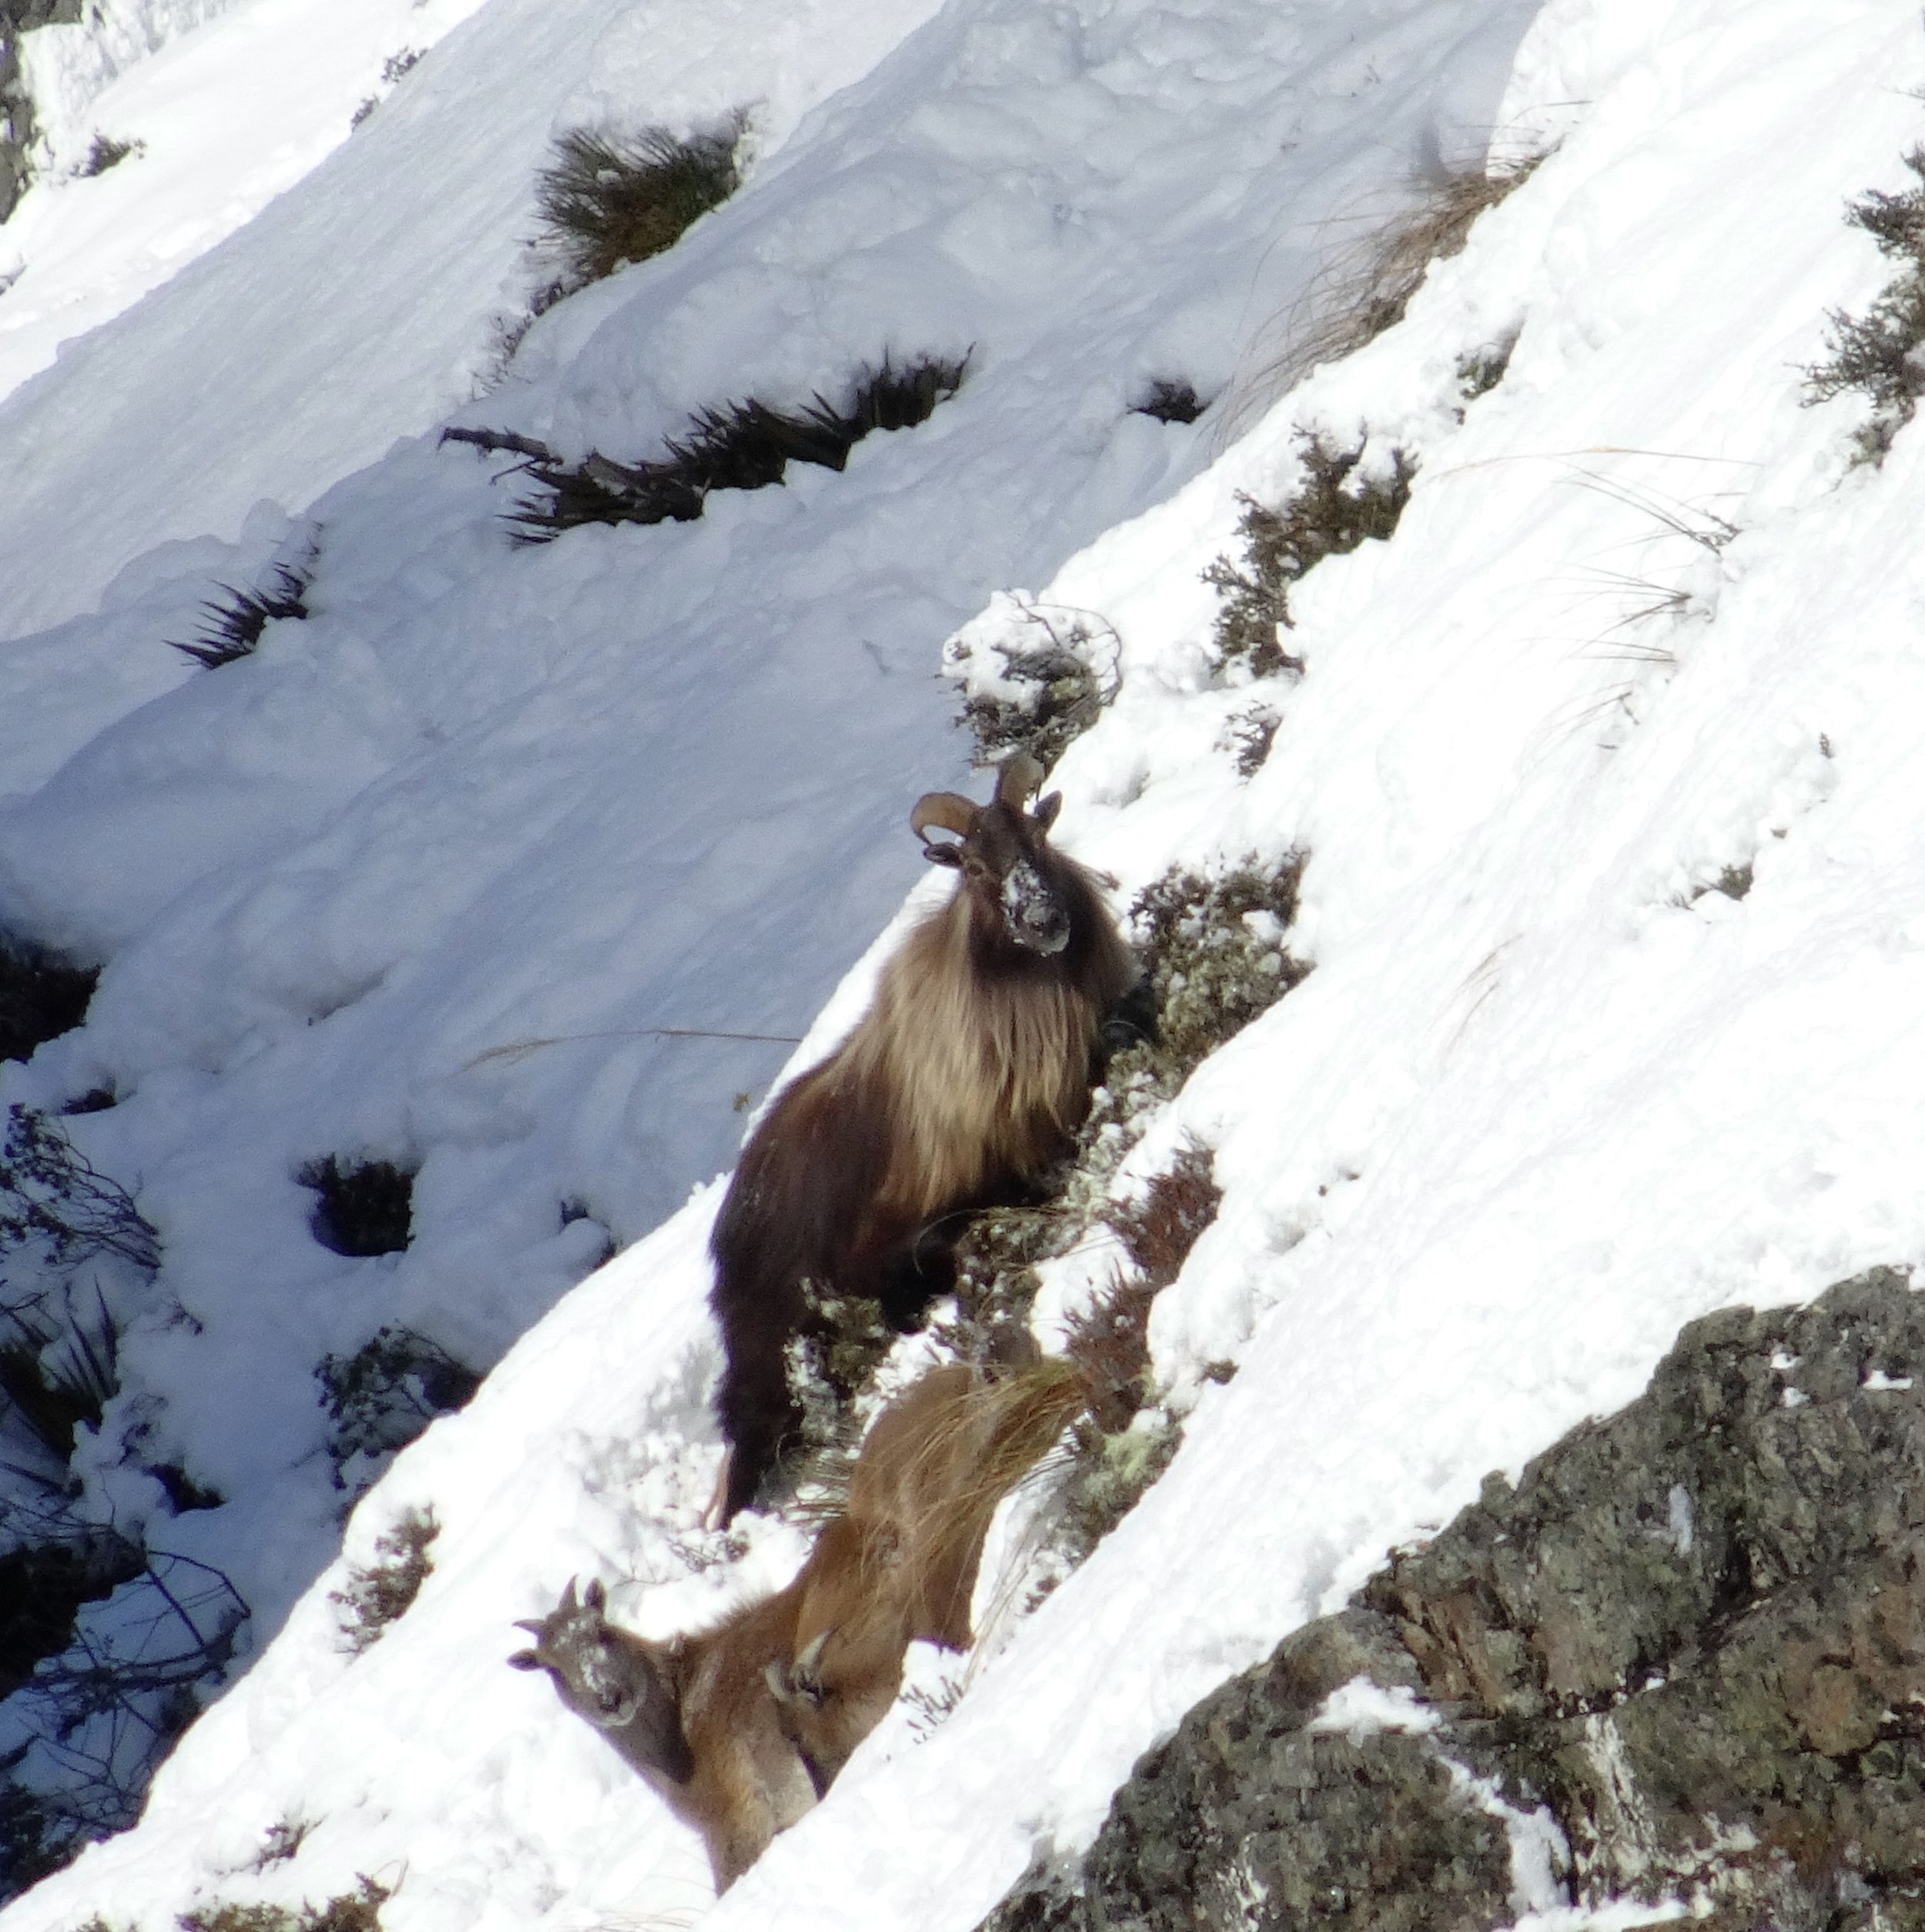 Image Cam
Positioning
Take the time to position the animal nicely, tuck its legs up under it as naturally as possible. Think about the backdrop, clean up any blood and make sure the animals tongue is not hanging out, most proffessional hunters simply cut the toungue out which solves the issue of it flopping out without you realising. You can hide bullet holes with a strategically placed rifle for example or as the Europeans do with a fern or a leaf. This part is all about showing respect for your prey so please don't sit on the animal. Image_ Hayden Sturgeon
 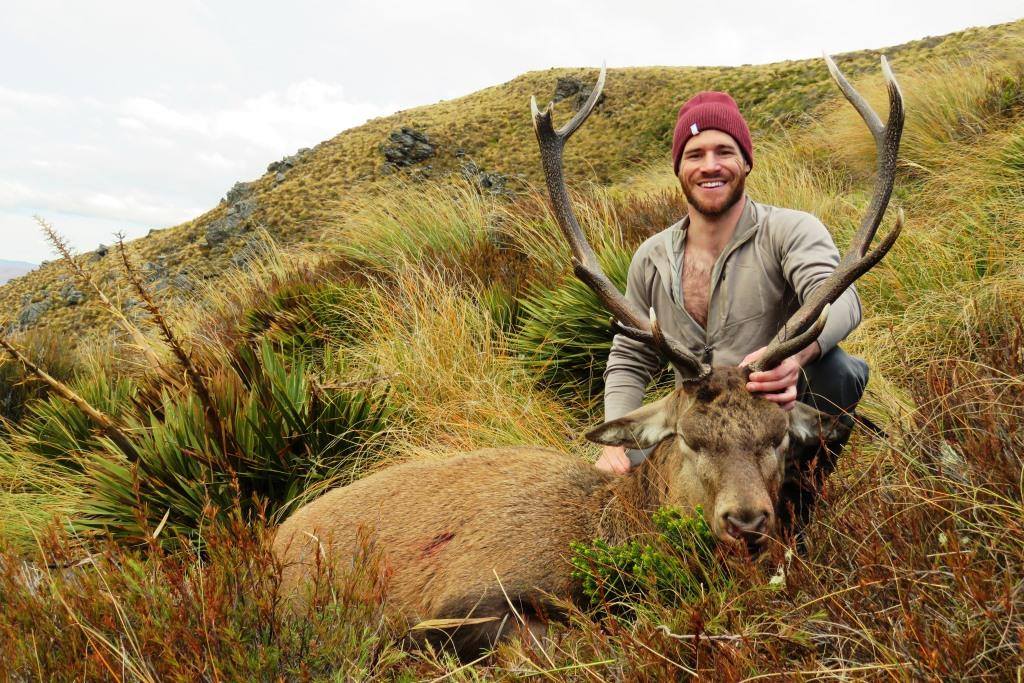 Abram with his stag, great photo from Josh Cairns
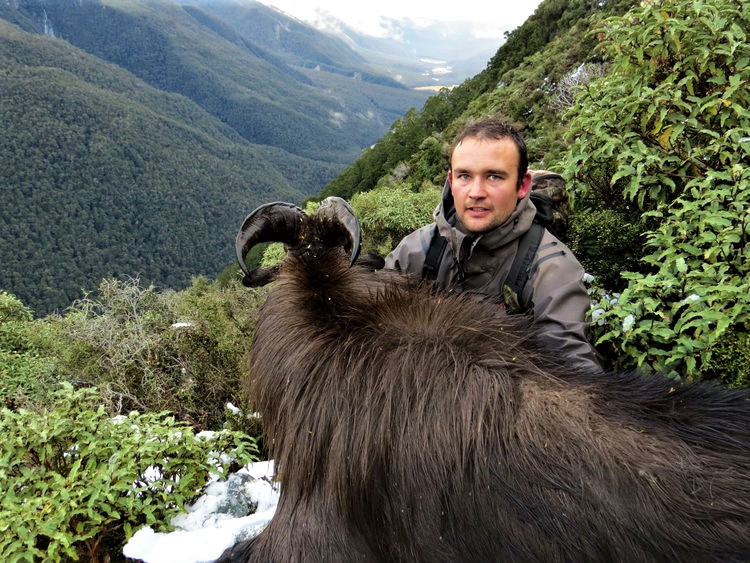 Richie Williams. Image_ Ryan Carr
  Dan Keys. Ryan Carr image
Firearms
Of course your rifle was unloaded as soon as you confirmed the animal was down. right!. So why not make it obvious and just have the bolt open. Needless to say, bolt open or not the firearm needs to still be pointed in a safe direction. If it’s not then it will be the first thing people notice, and will really detract from the image.
 East Coast Arms
 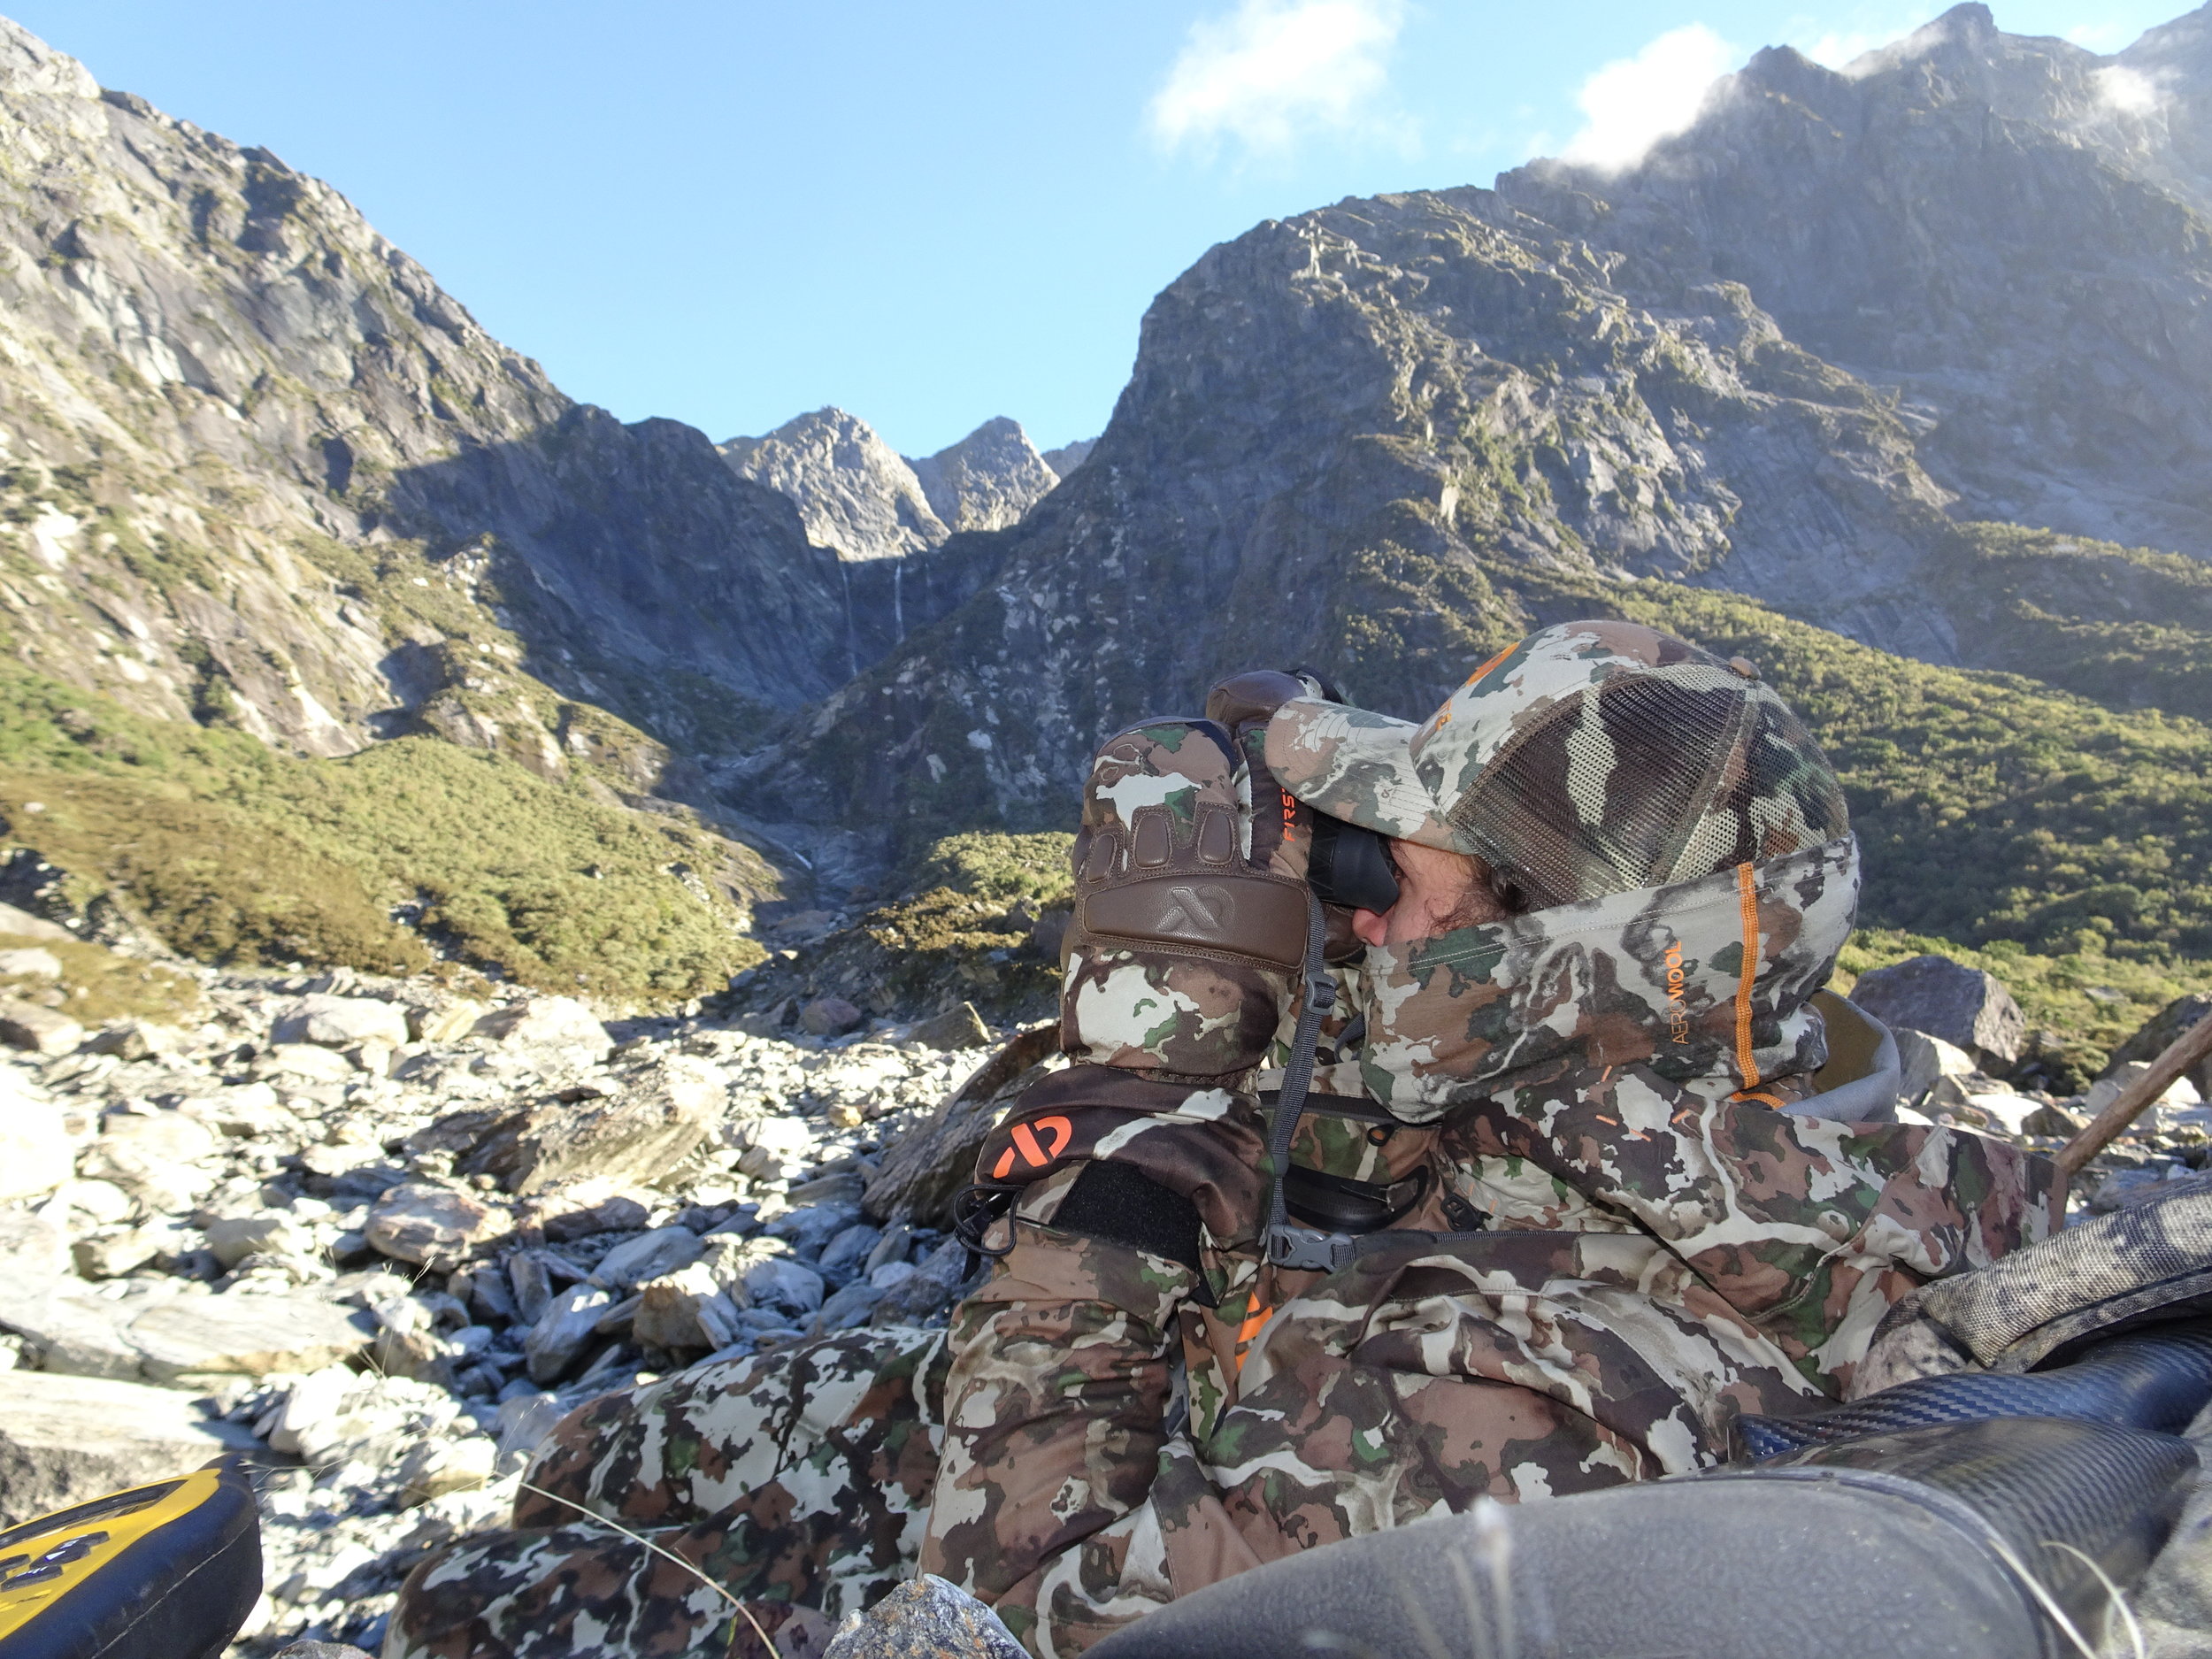 Image @Cam
Light
If the sun is low in the sky then have the sun on the photographers back, the exception is at dusk and dawn where you might be able to get a way more interesting shot using the rising/setting light.
Even with the sun up high it can be useful to play around with using the flash to take out any shadows on or around the subjects, particularly if they’re wearing a cap. A dark faceless person when the rest of the photo is well lit will detract heavily from the image.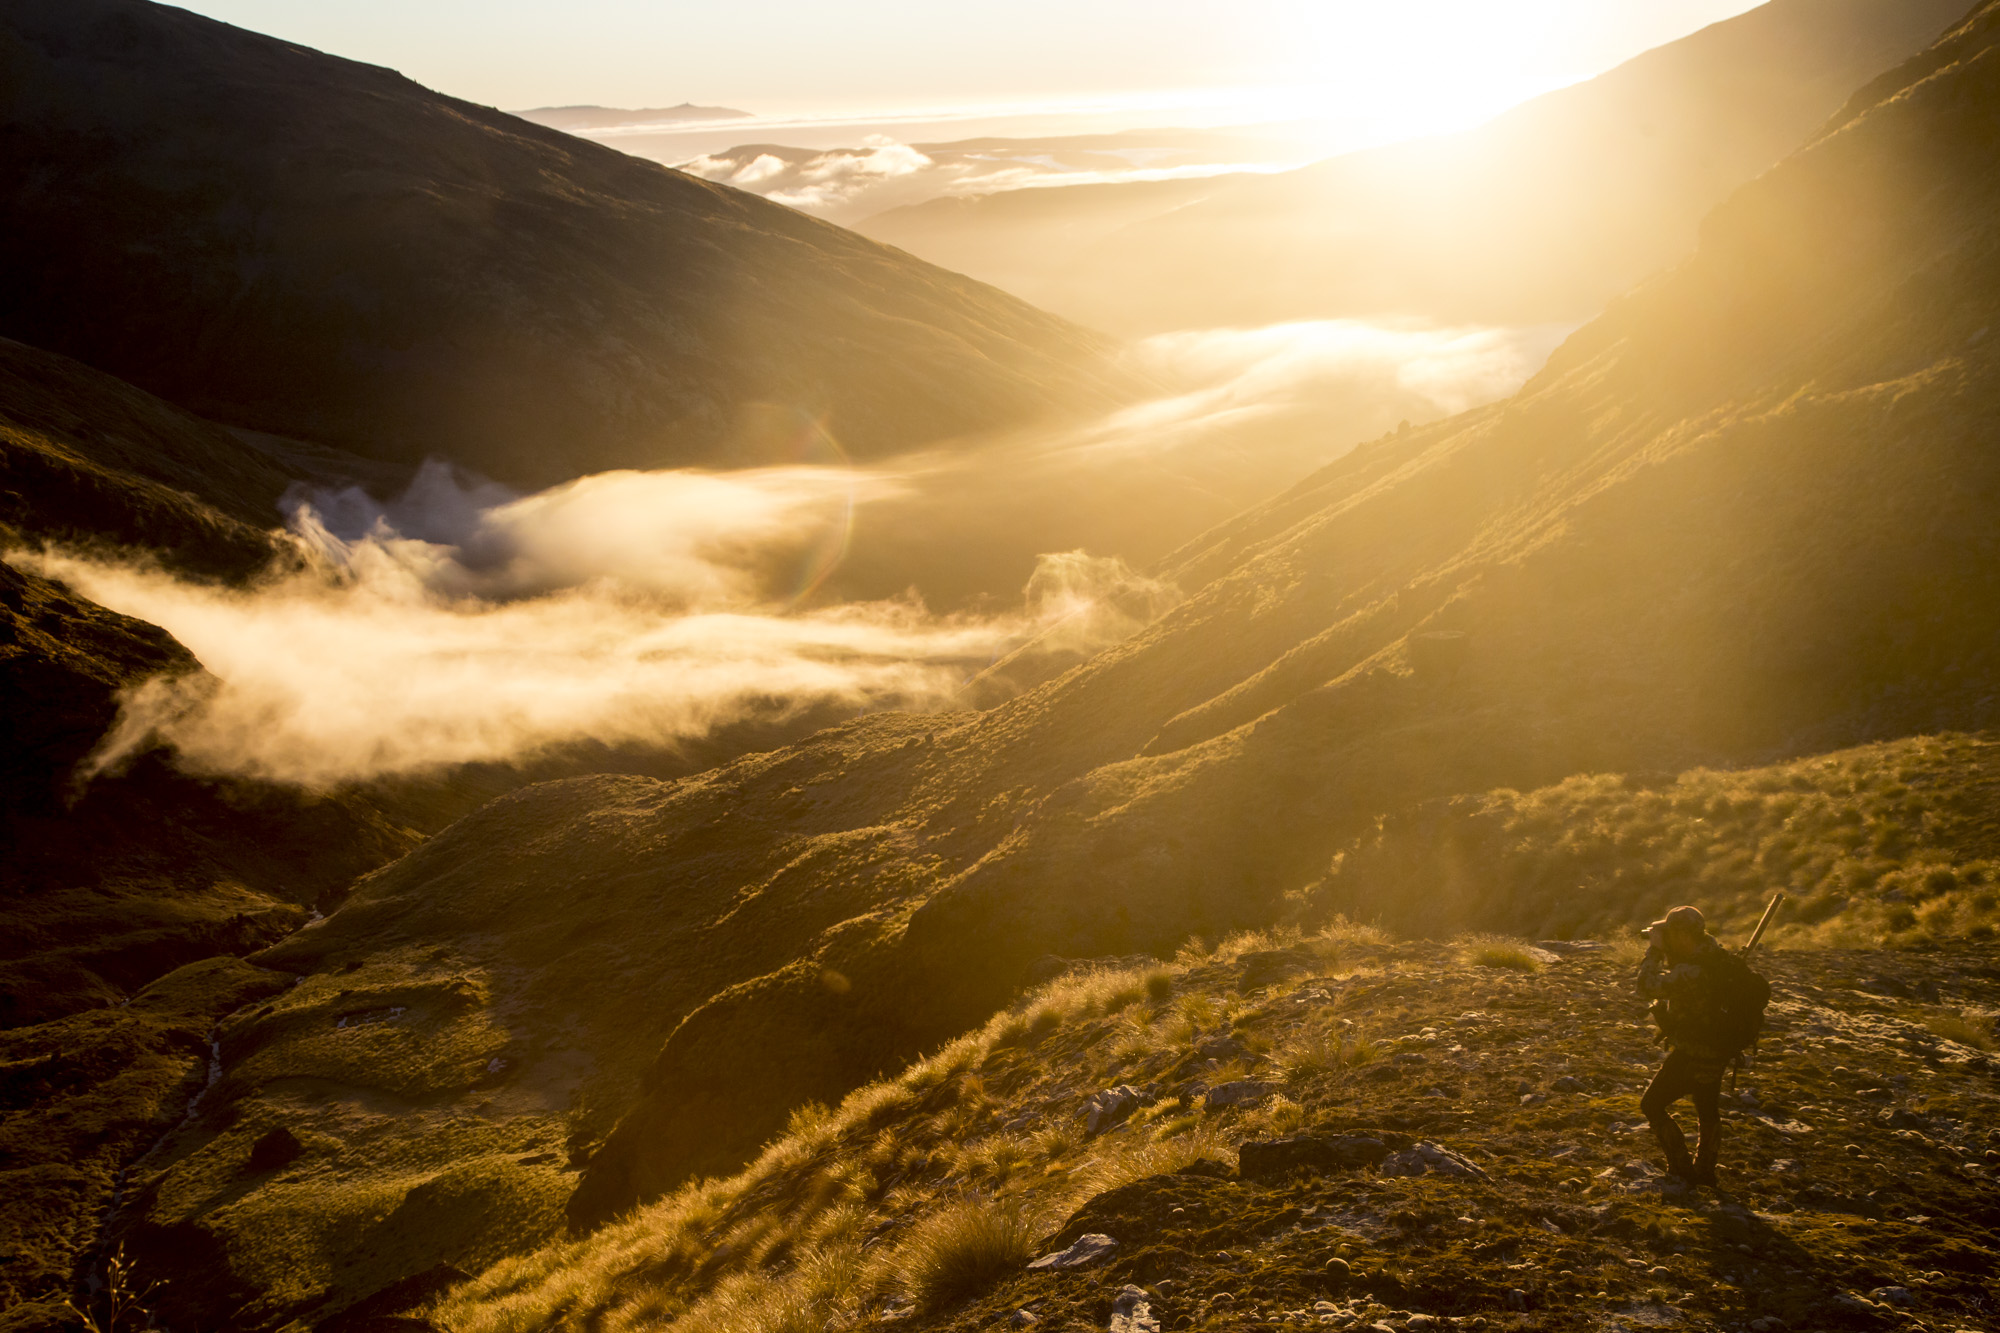 Image_ Neil Kerr
 Westland chamois country - image @Tome Overton
Tripod again
If you’ve got it, use it. If you’re hunting solo then you’re going to get a much better “selfie” using the 10 second timer and a tripod.And take several of these. Be careful on uneven ground quickly going from camera to behind the animal and review each photo to ensure the composition of you, the animal the skyline etc are all captured the way you want.
 Ewan Black is fairly antisocial doing a lot of solo missions, he also takes a decent "selfie" as a result.
 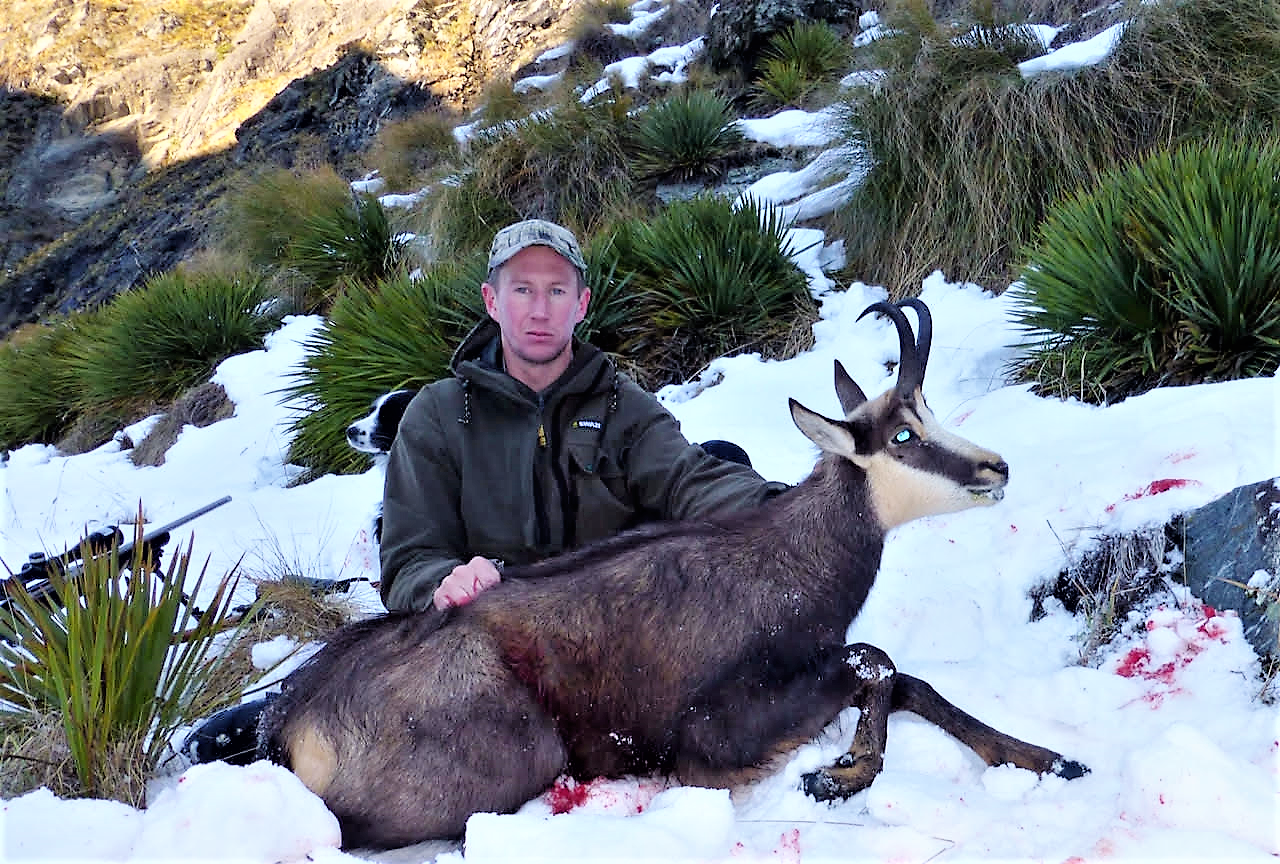 Ewan Black
The Sky
Try using the sky to silhouette the antlers for example, this will really make them the focus of the photo. If this isn’t going to work then just use the best back drop you can.
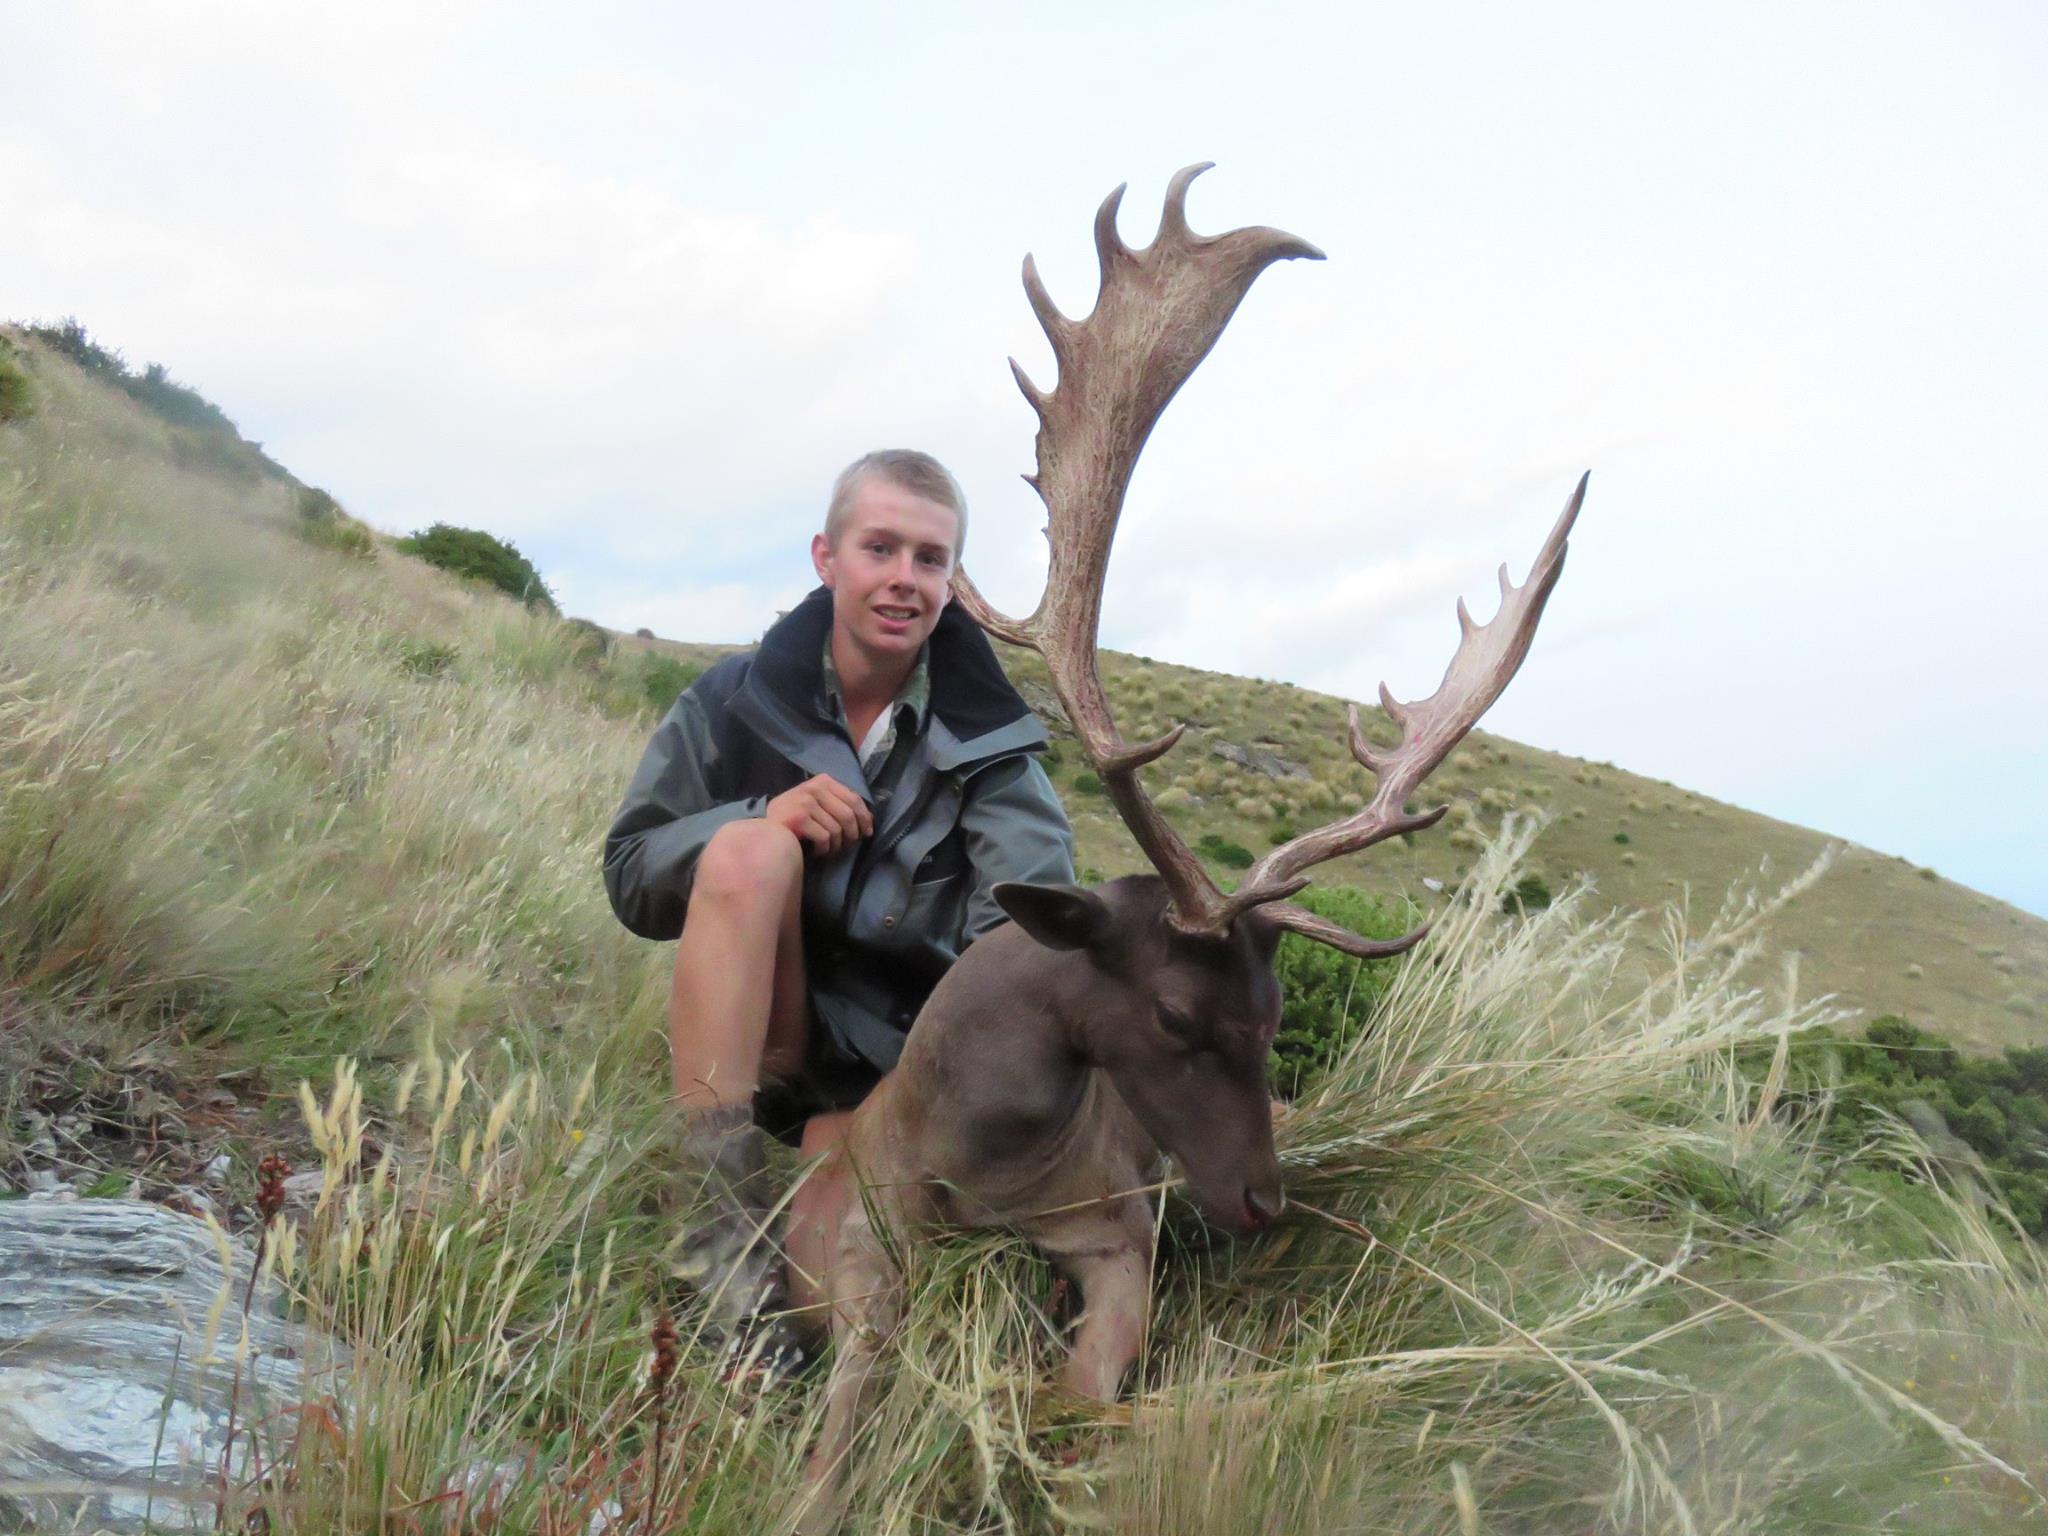 Drew McBride. Image_ Jason Searle
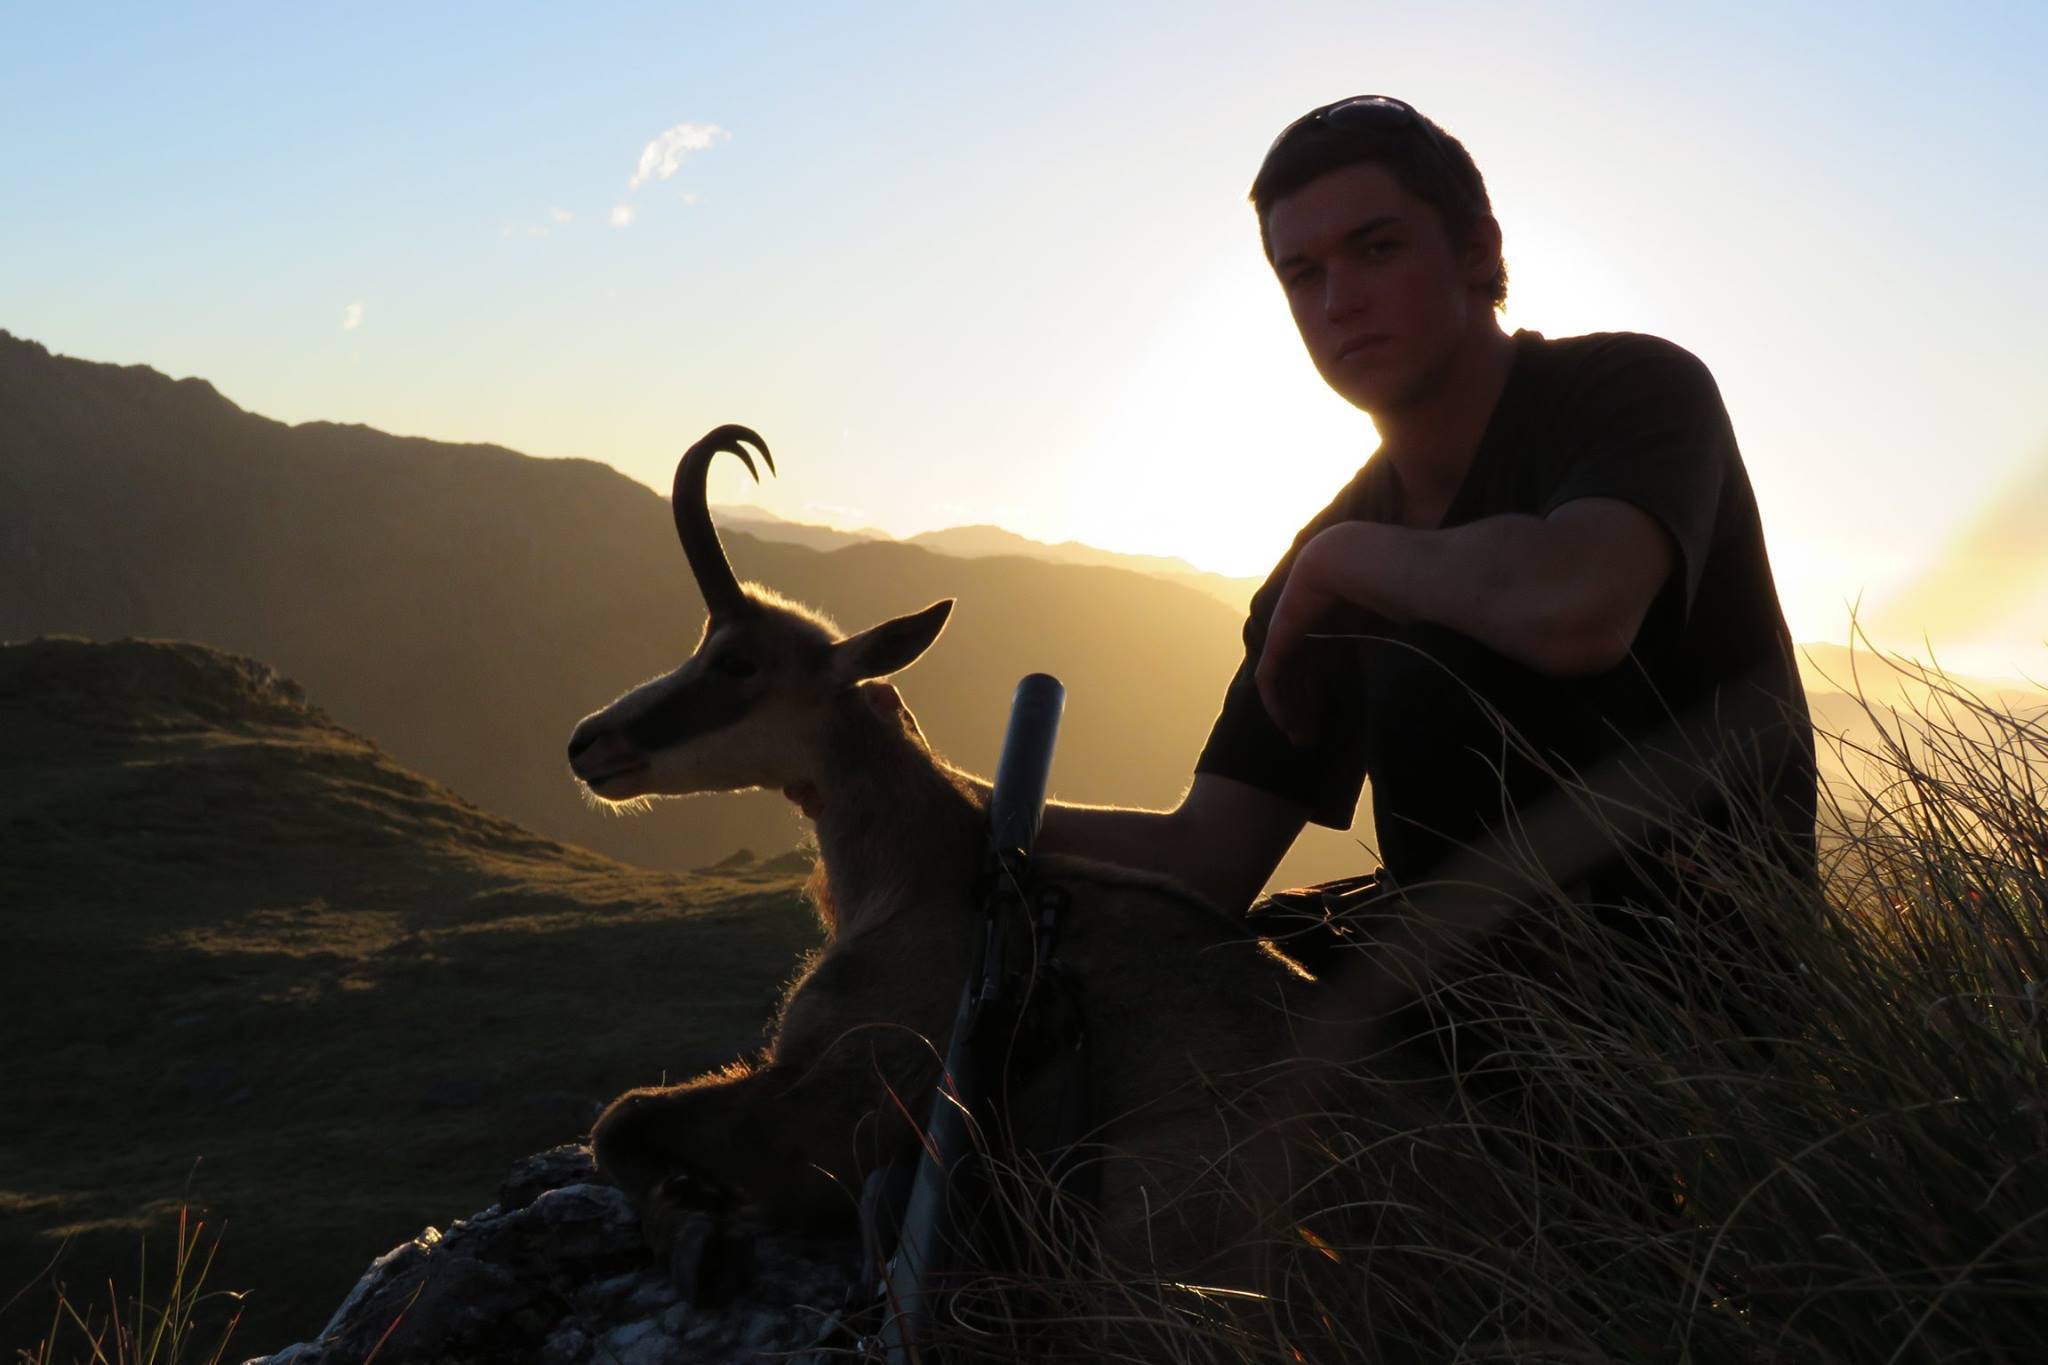 An epic photo and an epic buck. Image_ Ollie Clarke
 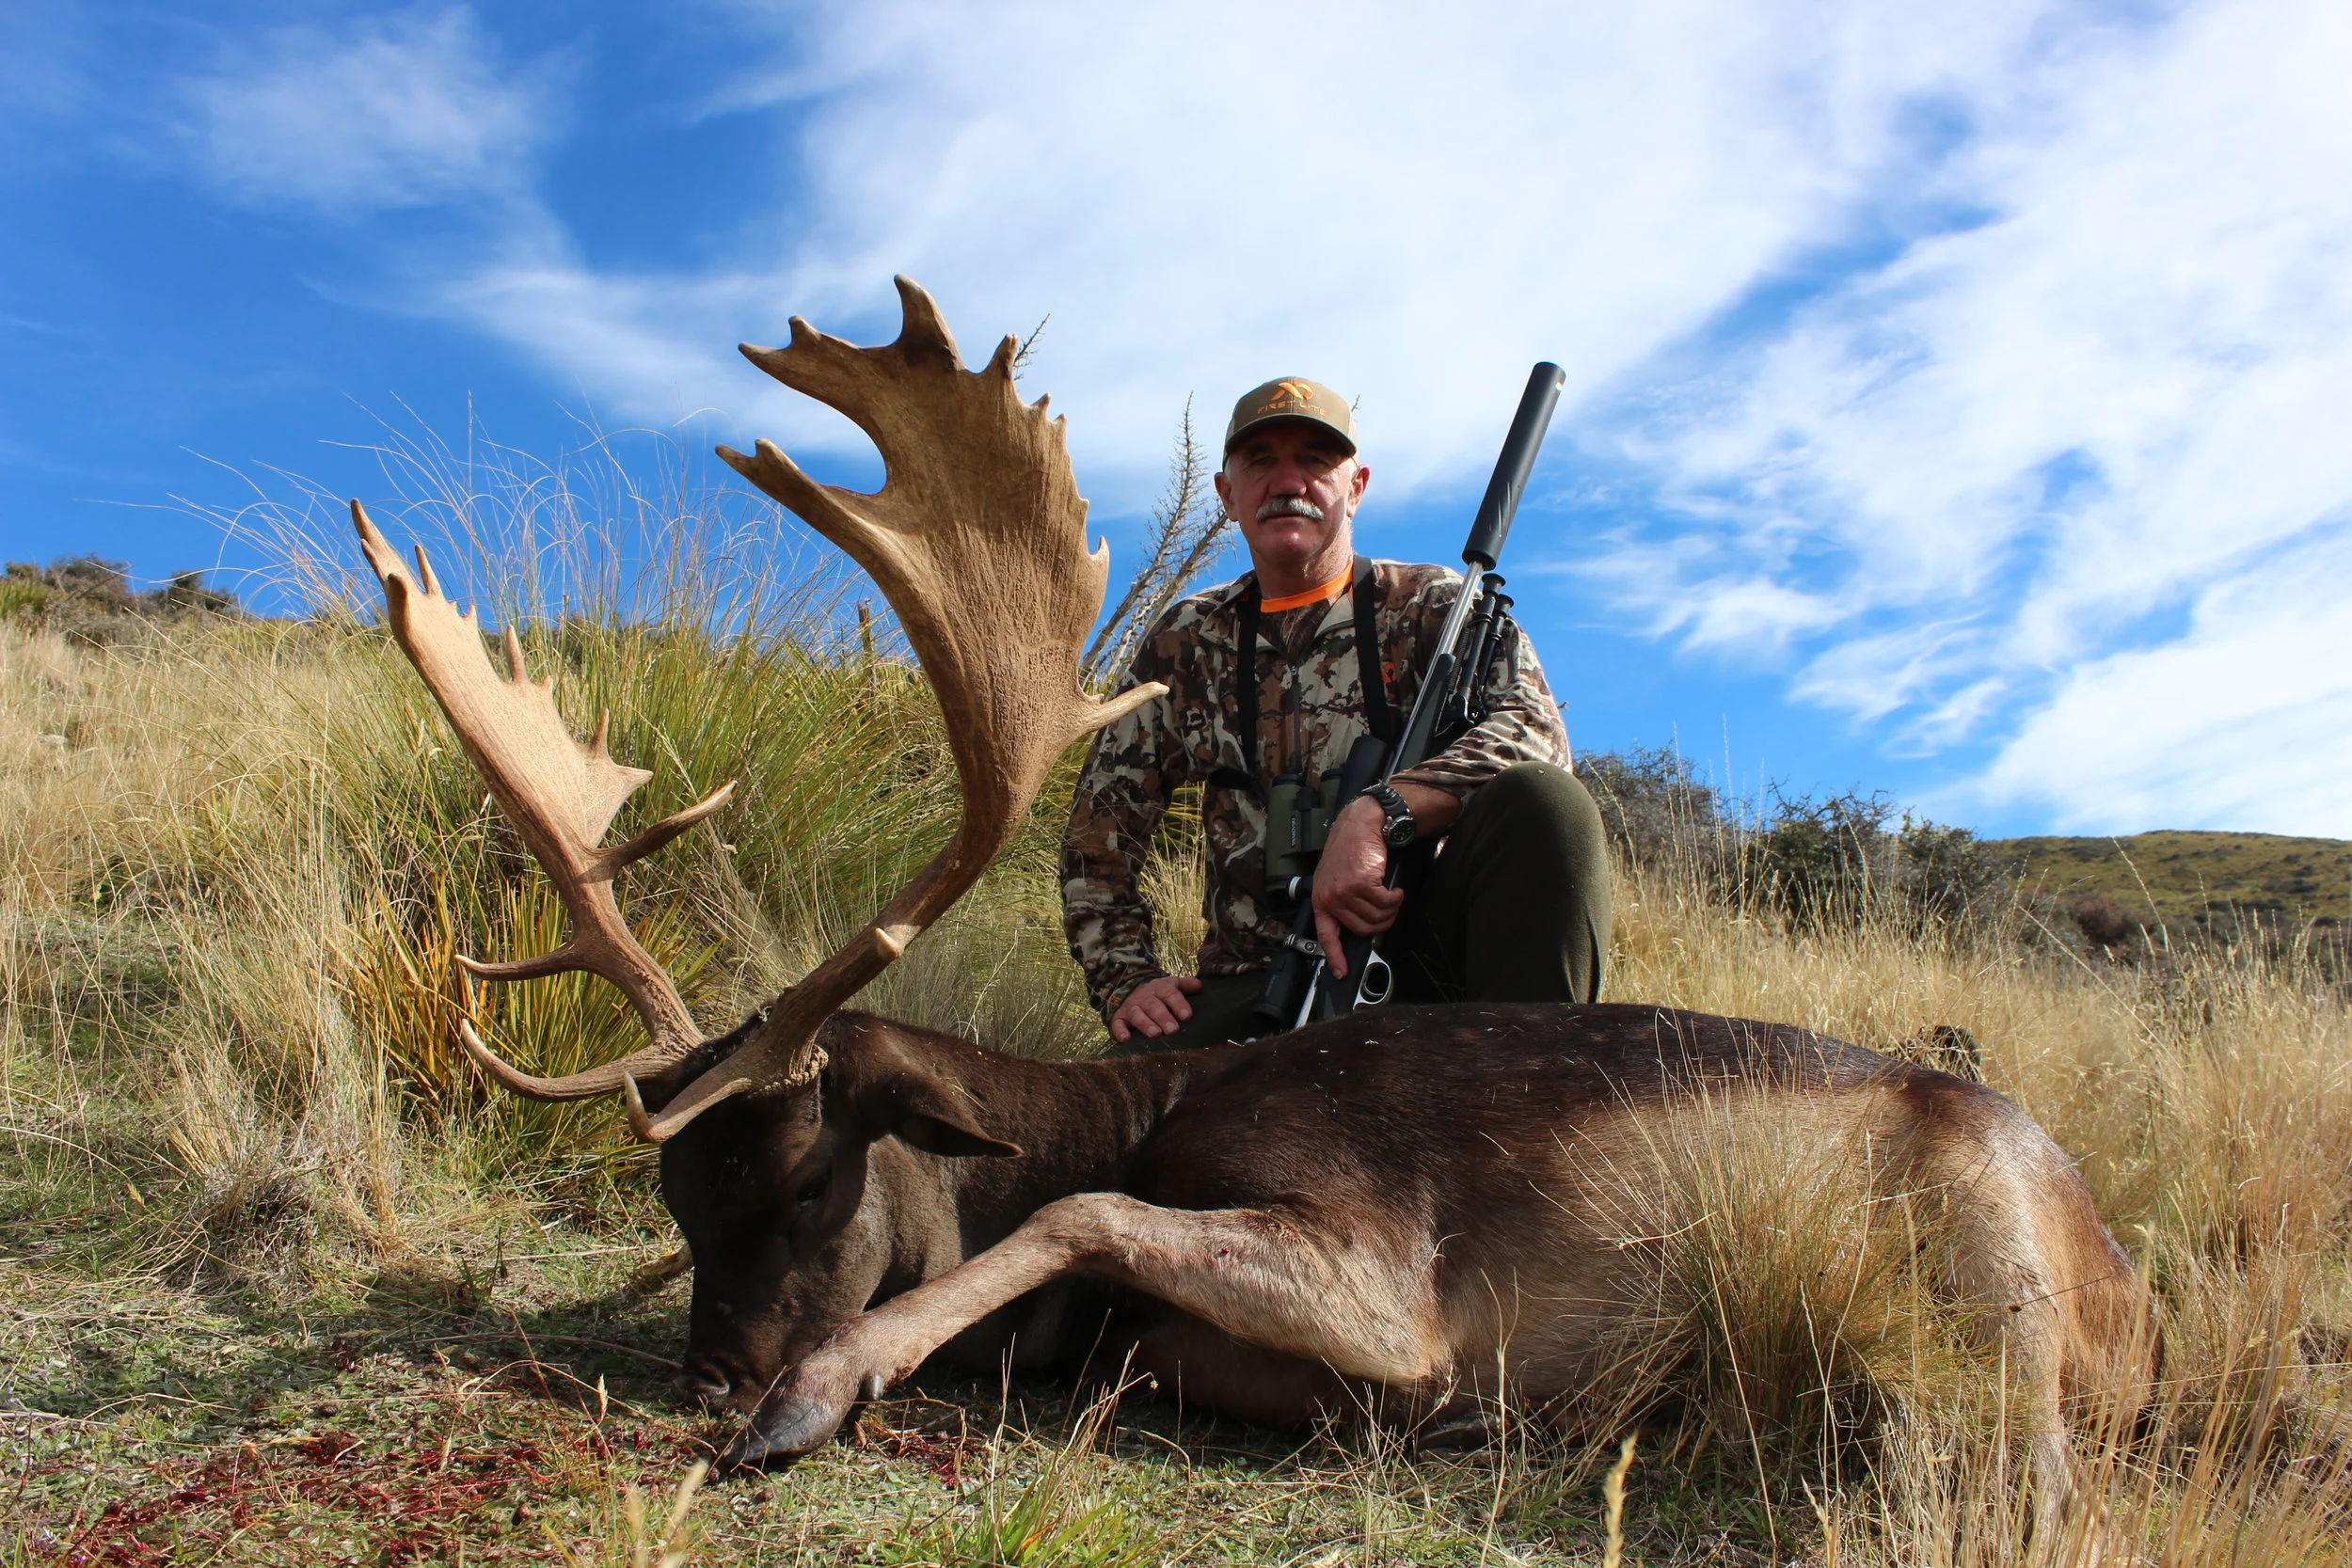 John Searle with a ripper buck - Image @Jason Searle
Angle
Get creative and play around with this, you might find the image tells way more of a story.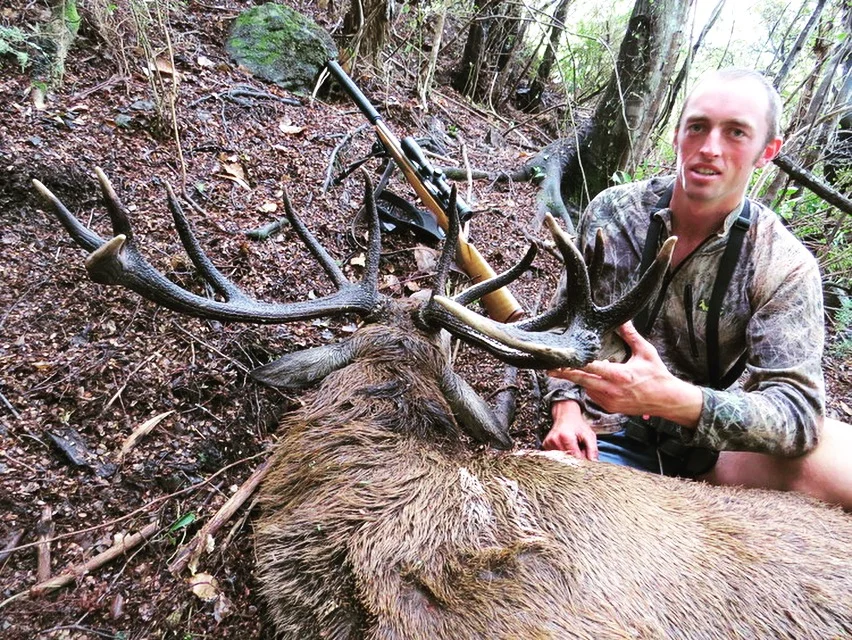 Ryan Carr with an interesting angle. Image_ Richie Williams & Dan Keys
 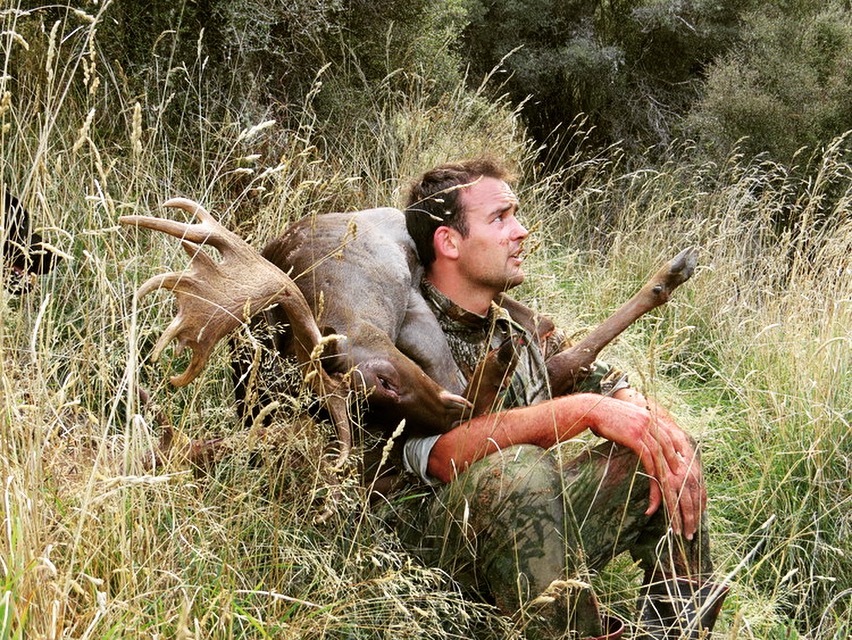 Richie Williams feeling the burn. Image_ Ryan Carr/Dan Keys
  Chief and his stag. Image Shaun Monk
Below is an example the difference a few simple things can make. Firstly the blood and bullet wound catch your eye. Second is the back drop really doesn't do the buck justice, no doubt this back drop is intentional so as not to give away the location.
 Eye's are drawn to the blood and bullet hole in the photo. Ewan Black image ]
 With the blood mopped up the photo is simply more about the buck
Overall take your time if you've got plenty of it, and take a bunch of photos.
Thanks to Mark Hansen for his input on this article. Image_ Neil Kerr